Friday, May 10, 2013

Tuesday, May 07, 2013

Campaign in Milton Keynes


If anyone is going to 'Campaign'  the war games show in Milton Keynes this weekend, do come and find me and say hello. I've volunteered to man a recruiting stand for the Prince Rupert's regiment of the Sealed Knot and will be strolling around in armour all day. Standing all day in back and breast plates with tassets and helmet will be a new experience for me, I think I might take a chair :).

 If you love history and like getting out and seeing historical buildings and places why not try it for yourself. I love dressing up in armour personally and connecting to the past, but a lot of people just join for the social side of things too.

That's me in the middle with a borrowed old coat and helmet last year at the Naseby memorial march. I have my own kit now and have even passed my sword test, which means now I can carry a sword on the field...joy! I will be proudly wearing it on Saturday so watch out!


Anyway, If you're around come and say hello and get to try on some kit, get drunk and wake up in a cart bound for Oxford with a shiny shilling in your pocket...Joking aside do come and say hello, Simon.

Monday, May 06, 2013

Speed Basing the American Civil War


As I have hundreds of bases to rebase and knowing that after about a week or so I will probably go on to something else, I thought it important to speed up the process of basing to give myself a chance of completing anything.

The rebasing also gives me the chance to touch up the very old paint jobs on my Civil War figures. I have found that by highlighting the nose and cheek bones, the old black ink shaded skin makes a great stubble colour.
It also gives me a chance to update all the old repro flags for new beautiful versions. Things have really moved on from when I collected my ACW forces back in 1997 and they are all crying out for an up date.

 
Dixon, Foundry and Redoubt miniatures are mixed to add variety on the bases. Dixon figures get a bad press but I like the character they bring when added to the mix. Also, they can be ordered separately from the website, which is a god send when ordering certain poses.


Above is a base of large Renegade miniatures I based earlier in the year, their base was done the long way. Sticking sand to the base by PVA glue, then painting highlights on to it, then flocking with grass flock.
This is a very popular method but for me with my armies of new bases, it would take me forever to get regiments completed. So I came up with a quicker method by using just flock of different shades.

After studying the American grass and undergrowth colours while out there, I found a yellowish looking flock colour, this works great for dead or dry grass and it would form the base layer.

On top of this yellowish base layer I added spots of green grass and patches of light stones. Finally long grass tufts were added and dry brushed yellow so they looked dried out. This may sound like a long process but It's not.

The only worry at first is that the first layer is quite thin and the figures bases can still be made out clearly. However, If you see a base edge you have two more layers of flock to cover it after the first layer has dried.

On some bases I spent a little extra time and stuck small slithers of flint on them, this looked good when coloured up with granite coloured paint. I looked at a lot of Gettysburg illustrations to get inspiration. So the two bases above look the same, but one was done in a fraction of the time of the other.
A mistake with the camera lead to a period Civil war photo.

It's nice to see all my old figures, who I had many fond memories of finally getting a revamp. Nice new bases, highlights on the skin and clothes and brand new standards as well from GMB Design.

Basing up Union Troops for Fire and Fury Regimental


Well I have returned from a work trip to America full of inspiration and  energy. While I was out there I took note of the ground colours and vegetation. Knowing that when I got back, I would have a mountain of ACW troops to base up.


I have been looking at Regimental Fire and Fury for a long time and have decided that this is the rule set for me. My figures were already mounted on bases of three so I thought that would make my life easier.
However, after discovering to my delight that Warbases have up dated their web site and now you can order any size base you like, I had to order some of the right size bases for the game and start the long process of re basing my old collection.


 The old cavalry bases from GW worked well but I always liked the staggered troop lines I saw in the rule book and the little dioramas just proved too much for me. The rules are written for 15mm but the scaled up 28mm base size is 40mm by 30mm. I thought about this for a while and decided to give myself an extra 5mm on the width, knowing that I have a lot of giant Redoubt and Renegade miniatures to base up later. The main thing is the new depth of the bases, now I can have character in them I always wanted by including fallen wounded etc. There is also more room to stagger the troop line as mentioned before and rifles and bayonets don't get damaged when the troops form column formations..


Odd Jobs


Here is a lovely Dark Elf captain causing trouble as usual. The moment I leave the room for just a minute, she starts making war on the locals...


Wednesday, February 27, 2013

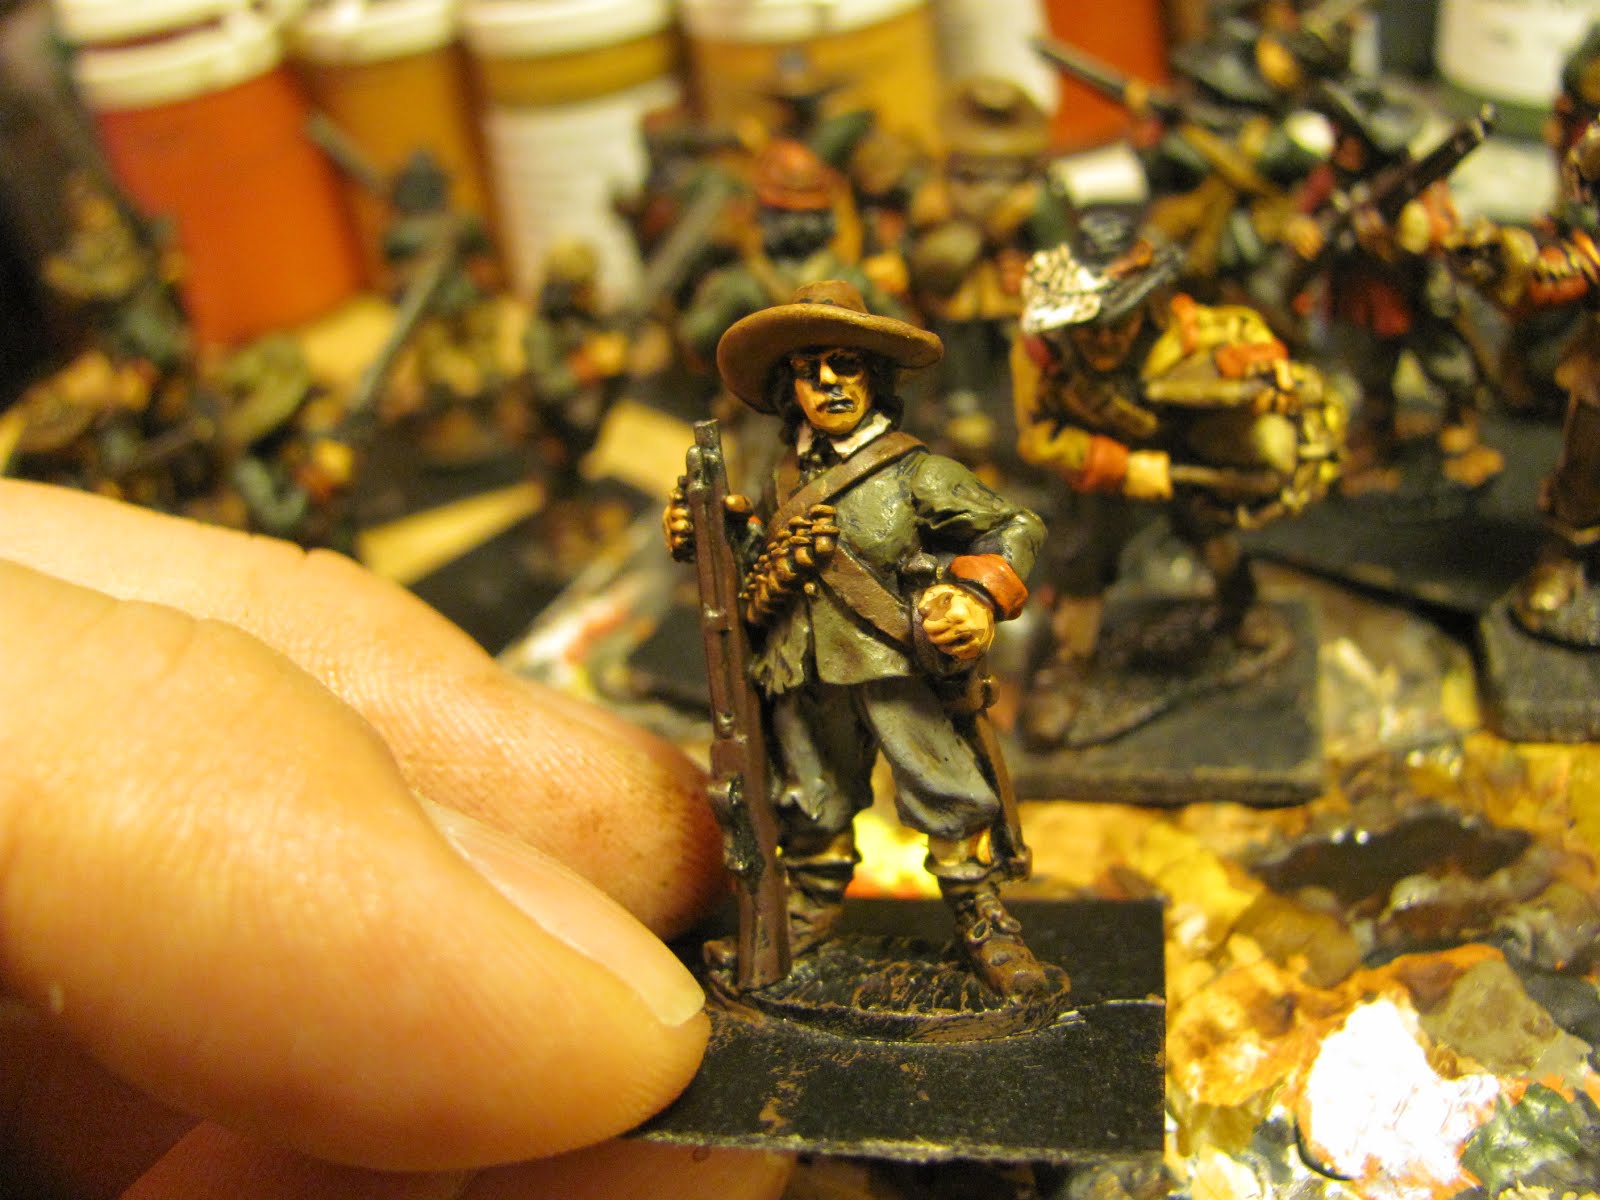
Officer in the New Model Army


This officer belongs to Colonel Hammond's Regiment of Foote.

Monday, February 25, 2013

Hammonds Regiment of Foote


A preacher prepares his flock for battle and the life after...

Friday, January 25, 2013

trying something new...

Here is a shot of my new discoveries. The water based Army painter worked out really good and I was pleased with the results. The quick drying time and the added control over the stuff has made me a fan. When It came to varnishing the figures I usual use AP matt spray on varnish. However, it is snowing here at the moment and I have heard lots of horror stories about painters varnishing in cold weather. The cold can effect the spray and the figures come out looking like they have walked through a snow storm themselves. So I thought I would not take the risk and go and buy some brush on matt varnish instead. I wasn't really sure what I was doing so I bought two bottles to try out. Both made by the same company. I'm very glad I did! The first bottle I tried was the one on the end in the photo. Even though it says matt, it dried very glossy. Good job I had a spare dwarf to try it on. I thought the other bottle must be the same, but no the results were exellent. Well that's my short two pennies worth of gained experience on the matter of varnishing. 1. never varnish in the cold 2. Use the bottle in the middle of this picture with the yellow label.

Painting the Civil War

These figures are just about done, they have been glazed and high lighted in their original base colours. This lot took me three nights to do and I had a ball. I really should get out more...
I will probably tweak the odd highlight or two on this lot before moving on. I use my Blog pictures as a way of spotting mistakes, If I see one I have to correct it. The curse of the Macro lense.
Next up, the pike block and command bases.
I want my ECW regiments to be quite large with Parliament fielding sleeves of 16 musketeers either side of a pike block 16 strong. My Royalists will have less firepower but more pikes. They will come in as two sleeves of 12 muskets either side a 24 man pike block. The royalists struggled at the begining of the war to find equipment with a lot of the larger arms making cities siding with Parliament. I want my early war regiments to reflect this. I am also playing with the idea of having regiments at different strengths, some smaller than others to add realism to the table top. As many of you will know already the figures are a mix of Renegade and bicorne. They are at the slightly large scale of ECW wargaming with Perry's, Warlord and Foundry coming in at the smaller end of the scale. The new range from Empress Miniatures come in the middle of the two. A lot of these minis I bought many years ago and have been waiting for a chance to paint them. Joining a re-enactment group just gave me the nudge I needed to get stuck in.
The muskets were painted with Foundry's 'musket B', but then highlighted with the next shade up 'musket C'.
Well here they are, so far so good. I am pleased with the quick result and it was fun to do. This is a time for trying out new techniques and materials with a new era of wargaming. God save the King...I mean Parliament...

Time for the 'Dip'

I brushed on a glaze of Army Painter rather than dip the figure in a tin of the stuff. The Army painter used was infact a new product, a water based bottle of the strong tone. I'm used to leaving my stained figures for twenty four hours, so this water based solution was a god send, for it dryed in minutes rather than hours. I don't know how long one paint pot sized bottle will last me, or how many figures it can do, but I was pleased with the results. I also prefered the control I had with the water based stain. Like Ink but with better coverage I would say.
The stain still wet, but already the figures are looking better.
After about thirty minutes I started to paint on the same base colours over the stain to act as simple highlights.

Painting a Civil War Regiment

These extreme close ups show just how crude the base colours are. At this point I'm not too worried as I know that I will highlight these after I have glazed them with AP. The figures are starting to look human now, it's amazing what a little flesh colour can do.
On a few of the doublets, I lightened the colour slightly. This should give some variety to the ranks of green coated men. I also gave a couple of them buff jerkins to wear, again just to add variety. The term 'uniform' at the time of the Civil war was taken at the loosest possible meaning of the word.

Painting Roundheads

It was now time to start blocking out the Regiments colours. Rather then just covering large areas with paint I tried to leave spaces in the breeches and uniforms that let the black undercoat show through. This will add depth to the figure once it is glazed with the Army Painter stain. I also tried to leave black spaces around places where hands met cuffs, bags, collars etc. This is an old technique and well known, but for me I'm still just getting used to training myself to leave these areas and not cover them.
I used the middle shades from Foundry's paint range to colour the uniforms. This mid range should have the best results once darkened by the Army Painter stain.

Painting the English Civil War

After messing around with Army Painter before I thought I would try painting some of the shading first, before glazing the figures with the stain. This was off the back of painting my dwarves and having fun painting their faces with all the creases and folds in the faces. I decided to try it with these ECW soldiers to give them a little more character. I used Fountry's paint system 'Flesh A' and highlighted with the 'Flesh B'. I also, like before, tried to leave the black undercoat showing through in the right places, like the eyes and folds of the face.
Here are the figures showing the faces painted with Flesh A from Foundry. When I drybrushed the belts and bandoliers on the figures I also painted their shoes, hats and boots with the same technique.

Painting ECW

Well I've got my Civil war painting head on at last and thought I would just jump straight in and start bashing out some Roundheads. Now, I have been collecting figures for the English Civil war for many, many years as old readers of this Blog will know. However, due to one thing or another, I could never quite bring myself to starting the task of actually painting any. That hasn't stopped me thinking about the period or from looking at other painters' ECW projects with great intrest.

 One such Blog is that of Saxon Dogs. His master class on using the Army Painter 'dip' to paint up three regiments of ECW foote caused huge waves amongst the wargaming online community. I actually got to meet him at a 'Salute' and he shared even more great tips with me. As soon as I had finished chatting, there were two other ECW gamers queing to speak with him. Great Guy.
Anyway, so I have taken tips from the best and also been trying to come up with a few of my own. I am a lazy painter as I have said before and tend to cut corners to get good results. I haven't got as much time as I used to, so anything that saves me time can only be a good thing.
My first Regiment is going to be the Earl of Manchesters regiment of foote, "but you're a Royalist" I hear you cry. Yes, But I'm also in a whole bloody regiment of them, so If I ever want a game I had better start painting up some Parliamentry forces. My choice of regiment comes from seeing the Manchesters on the field and thinking "they look good". I was pained over which uniform to give them, the ones in the 'knott' are based on the later New Model Army look, with red coats and green cuffs and breaches. However, I had made up my mind that my forces would be early war, say up to 1643. This is for many reasons, mainly a lot of my figures are wearing full armour (including tassets) and also the whole colour range of regiments at the beginning will be more fun to paint. So for this reason I have decided to paint up my Manchesters in their first uniform. Green doublets with red turnbacks. I was delighted when I actually found the standards for the regiment on Battle Flag's website. That will save me having to paint up my own from photos on the internet.
I wanted to just bang these guys out and not get too hung up on detail. I like the idea of having big regiments for my ECW armies and that means a production line.

I started by spraying the figures with Army painter black stray paint. I just wanted all the detail of the straps covered and didn't worry too much about anything else. Once they were dry I took different browns and dry brushed over the belts and bandoliers etc, trying to leave the black undercoat still showing in the receases of the detail. This is a new technique for me, leaving the black still showing and one I'm having fun with. It makes you have to think, rather than slapping on wads of paint and I am enjoying the change in style, It has made painting fresh again for me.

This is a tip I took from the master 'Saxon Dog', on his painting of ECW figures.

Sunday, January 20, 2013

A Day of Basing

I finally found some time to base up those old fantasy figures I have been dabbling with lately. The two Dwarf bases were done the traditional way, painting PVA inbetween the figures than dipping the base in sand. Painted with Foundry's sand a, b and c from their paint range. The Goblins, due to their crowded base were just dipped in static grass after the PVA treatment. Grass tufts and stones were then added to bring a bit of further detail to the base. This is the way I normally work, just by using the static grass with extra colours of static grass added for contrast. Silflor grass tufts are excellent for adding character. I'm not really one for spending too long on my bases and always tend to take the quickest option. The sandy Dwarf bases are my exception because the figures took a little longer to paint. I am just a lazy baser I have come to realize to my shame.