Saturday, January 18, 2020

The moment of DIP Truth

 Looking back through the years on Iron Mitten I had forgotten myself  the amount of times I had actually used the Dip. Warbands of Celts and Romans, even a few French Napoleonics. The best case of results was bashing out tonnes of Celtic cavalry with Soft Tone over the horse flesh, so why did I just forget this tried and tested method for quick units.
Well, the answer is, I think I just got a bit scared. I remember painting up a whole green regiment of Foote ready for the Dip and then using the water based Army Painter strong tone instead. I think it had just been released and I wanted to try it. Since then I have used it all the time and even made my own washes from Woodland scenics paints. However the only thing that is different is that these water based washes didn’t  protect like the Dip, not even when glossed and matted down with varnish.

I had rediscovered the joy of the Dip after reading through the blog ‘I live with cats’ and seeing his Border Reivers armies. It has reminded me of the many benefits of using the stuff, namely the pleasure of  Painting figures with simple details using base colours. Also just now, the actual painting on with the Dip was very rewarding. I think if you have large numbers of troops to produce it is definitely worth considering.


I think it’s a case of having armies to game with is better than having plastic tubs of lead...or something like that. It’s this approach that has lead me back to the Dip after a good ten years away from it.
 I have been nibbling away at this ECW project for many years with only two regiments finished, so I’m hoping if these turn okay, I could use this method to speed things along. Now I need to wait 24 hours to find out.
I brushed on the Dip, wicking away any pooling with a wiped brush. If you feel some colours or armour are getting too brown, you can use the brush to wipe the Dip away, lessening the effect.

Friday, January 17, 2020

Preparing for the Dip

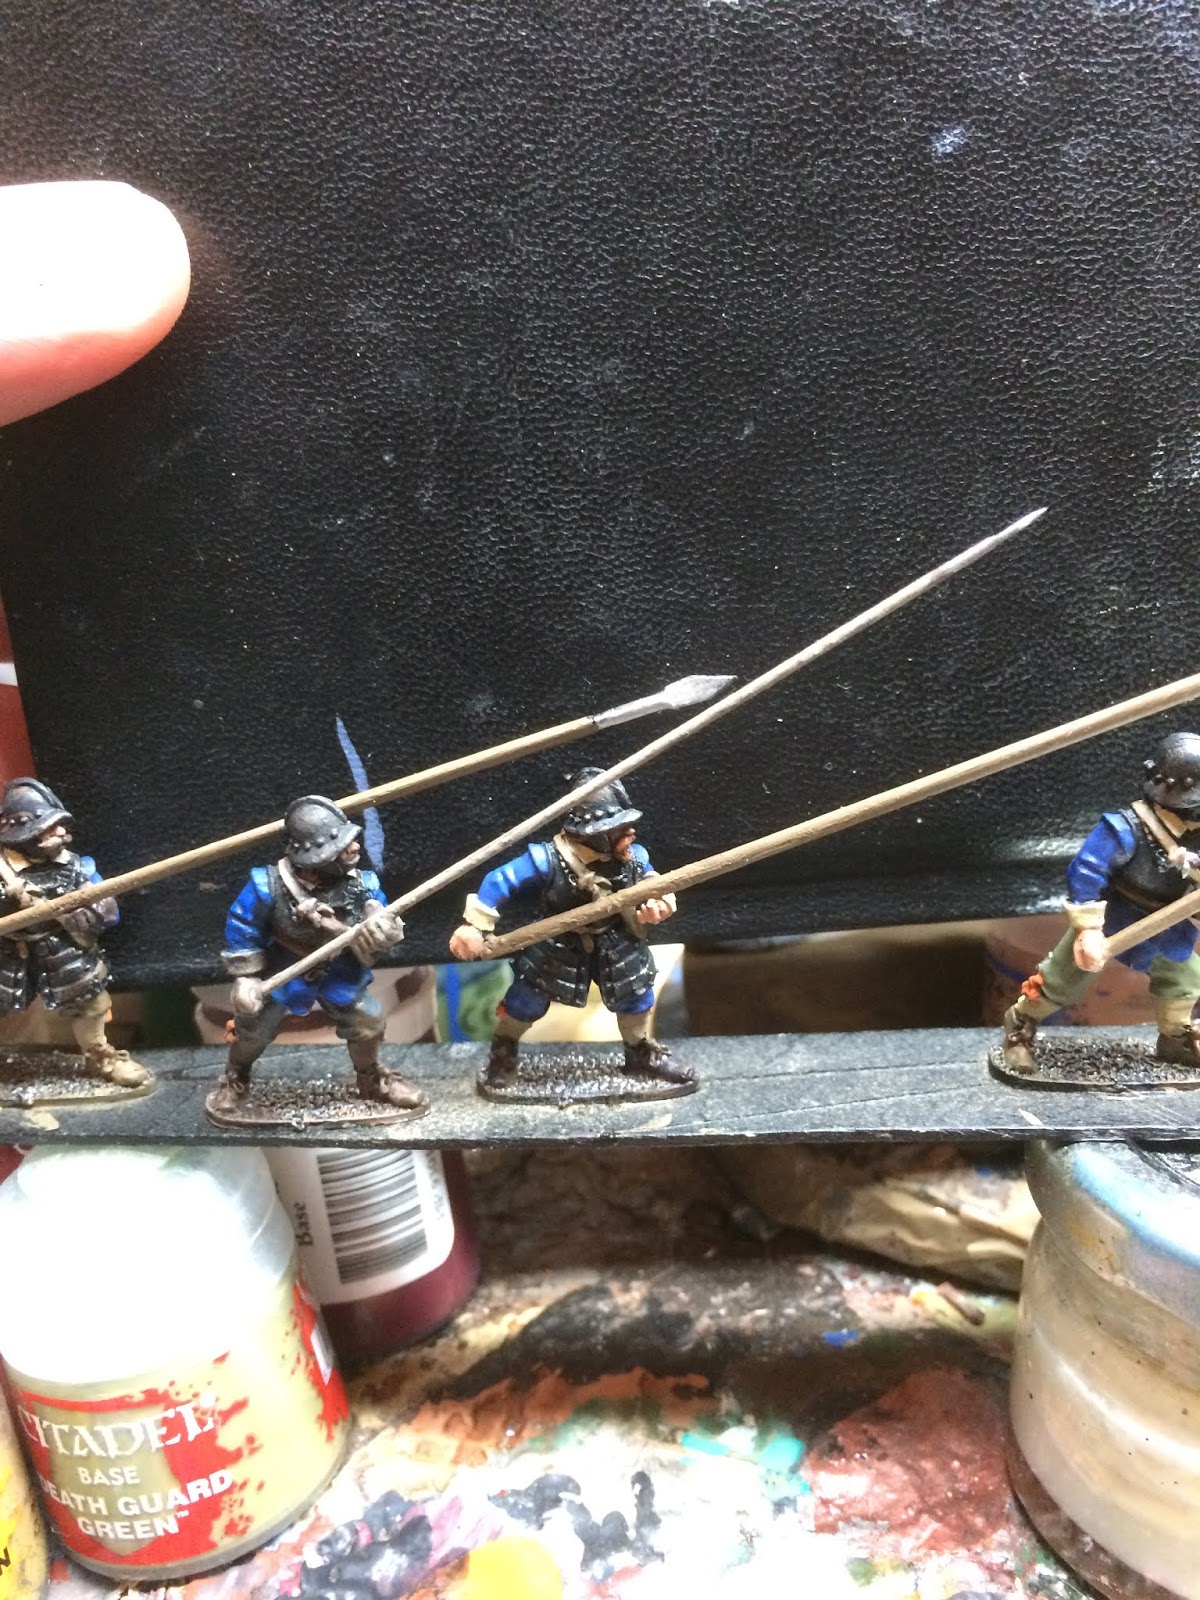
 You can see here the new brush bristle pike and the old metal one from Bicorne miniatures. It’s quite refreshing blasting through these figures. I’m hoping to finish this regiment in one Dip....or two.


Thursday, January 16, 2020

Trying some new ideas

I took the chance to try a couple of new things tonight on the old English Civil War project.

Firstly I tried out the Vallejo thick mud for the infantry bases. In the past I had poked holes in the PVA glue and painted them brown to act as mud. However, if you want thick mud, why not try a pot of ready made stuff, I thought to myself. I didn’t go crazy with it as the base will mostly be flocked and then long grass added on top of that, so I just wanted to a few areas showing through the tufts. I’ll have to wait til tomorrow to see how this stuff drys and paints up, I’m thinking of giving it a slightly lighter drybrush when dry. The texture on it looks good though and should save me time with basing sand and paint.
 Another tip I’ve been itching to try out is the making of pikes from brush bristles. These plastic stand ins are much more flexible and less likely to take out an eye than metal ones.. Saying that,I think the real advantage comes with the fact you can flatten out the ends and make a nice pike head. You can also shape the top of the shaft to look like the metal tangs either side of the pole. Another nice touch is that the plastic sticks strongly to the figure and takes paint very well indeed.

It took me a couple of trips to various hardware stores before I found the right brush with the right sized bristles. I did buy another with slightly thinner bristles that I use for arrows and javelins. These to can be flattened with pliers and shaped easily. After doing a few I really like the effect and the bristles left on the brush should be more than enough to finish both armies.

Talking of armies, I’ve been inspired to try Army Paintet Dip again. I bottled out last time and used the water based one instead. However, the thought of producing quicker units has got me thinking. I will try Dip on the Blew coated pike block and see how they look.


Friday, January 10, 2020

1st Corps ECW Cavalry

 Well I’m always on the look out for good Iron sides and the latest offering from 1st Corps looked good.
The figures are a great match for my Essex figures which I was very pleased about and will fit in very nicely. This probably means they will be a little small compared to Bicorne but not enough to worry anyone. The 1st Corps troopers come with a separate gloved hand holding a weapon not shown here, but the pistols are nice and big.
The helmet is a slight let down as the lobster tail isn’t as defined as I would have wished for. Bicorne are the masters when it comes to 28mm ECW but I find most of their cavalry make for better Royalists than Roundheads.
I still think some of the best troopers out there at the moment are these Essex miniatures below, which is lucky because I still have 12 to paint up.
 So all in all I’m pleased, they should be releasing command soon and different hat options.These troopers are £10 for 3 which is kind of the standard now. Bicorne come in at £12 for 3 so these guys are slightly cheaper, it’s nice to have some more metal options on the market.


Rescued from the Depths

 A little bit of damage but not too bad. That guy didn’t belong there anyway. Well it’s always good to find more recruits for the regiment, means less to paint.

Now that’s how I remember it, three bases... all is finally well. Time for bed!


Lost and Found

 After searching and finding a lost base of ECW last night I thought all was well, however the more I repainted the damaged figures, the more I remembered. Hang on there were three bases I’m sure of it...This nagging feeling grew while I was at work.
On getting home I started to look around where the other base had been found... nothing. Maybe it was me just getting confused, I have a faint memory of it but nothing really I can...wait a minute!
What’s that right under the work bench. I knew it, my spidey sense was going nuts. Prepare for immediate evac.


Thursday, January 09, 2020

Blew coats on the Move

 While I’m in the mood I thought I would quickly try to finish off a Blew regiment of foote that has sat gathering dust. Recently I had been getting enthused about the Border Reviers and have been weighing up if you buy some or not. This came from following a link on ‘I live with cats’ blog.
 Luckily for me I managed to go into my brain and do a bit of rewiring, why start another 16th Century era when you have one to finish off already. So I managed to channel all that enthusiasm back into my ECW figures which are all bought and paid for.

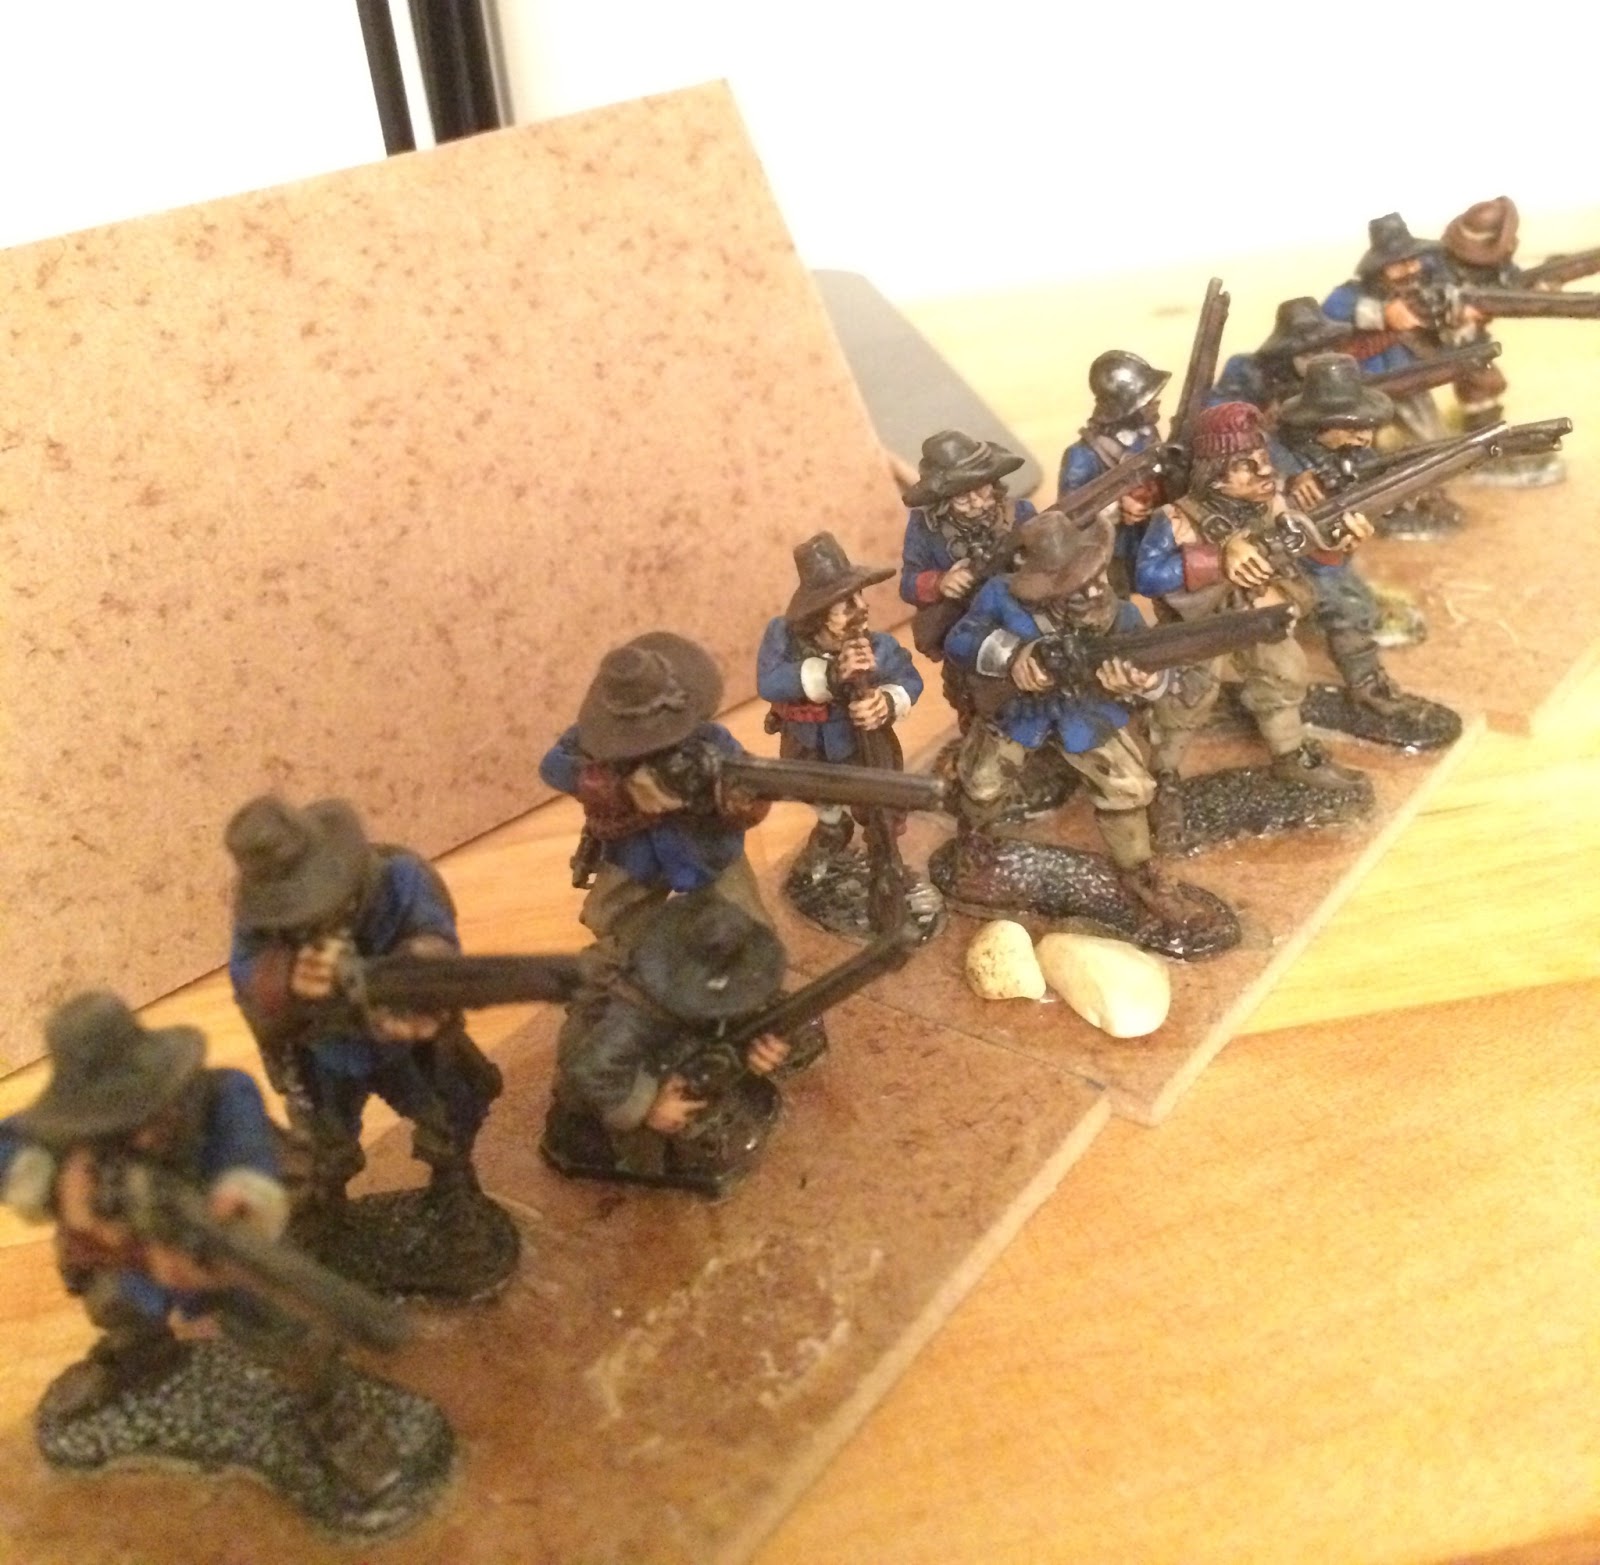
 This is one sleeve of Shotte, I now base them in two bases so they can be split to man hedgerows etc. The War of Three Kings rules offer me everything I was looking for and even match my basing so they are the ones I have ear marked to play. The problem is painting armies is a very long process and by the time you are in a position to game, new rules have come out. However the WOTK look good and I love all the different regiment configurations.

I’m toying with making this unit ‘regulation’ by giving them less pikes and more muskets. This answers my dilemma about how to get more muskets into the better equipped Parliamentarian regiments. Of course this means they gain a slight bonus when firing but loose it in melee against other pike blocks.

I couldn't find the front base all night, I was sure I had made it as I remember the guy kneeing down. I had almost given up and was about to leave when I discovered it on the floor, kicked under the table. That's the trouble with having unfinished stuff kicking around for years, they kind of get, well... kicked around.
Luckily they didn't suffer too bad, although I notice some of the paint has been knocked off the muskets, need to fix that.
It'll be good to get these guys out the way, nice a safe upstairs in a box.

Tuesday, January 07, 2020

Colour Tests for Silvan Elves

 And now it’s time for Autumn Watch here on the BBC.
I played around with having the inner lining of the cloak a different colour. Hopefully this will get some more browns on the model and help the cloak look more dynamic as it swirls around. When you’re an Elf it’s very important to look dynamic...


Elf Leaf Mail

 These scale clad torsos are from the Fireforge sergeants box set. There are a two on each sprue together with a couple more that make for good Elf bodies. This bit of variety will help break up the chain-mail clad Oathmark set a bit.

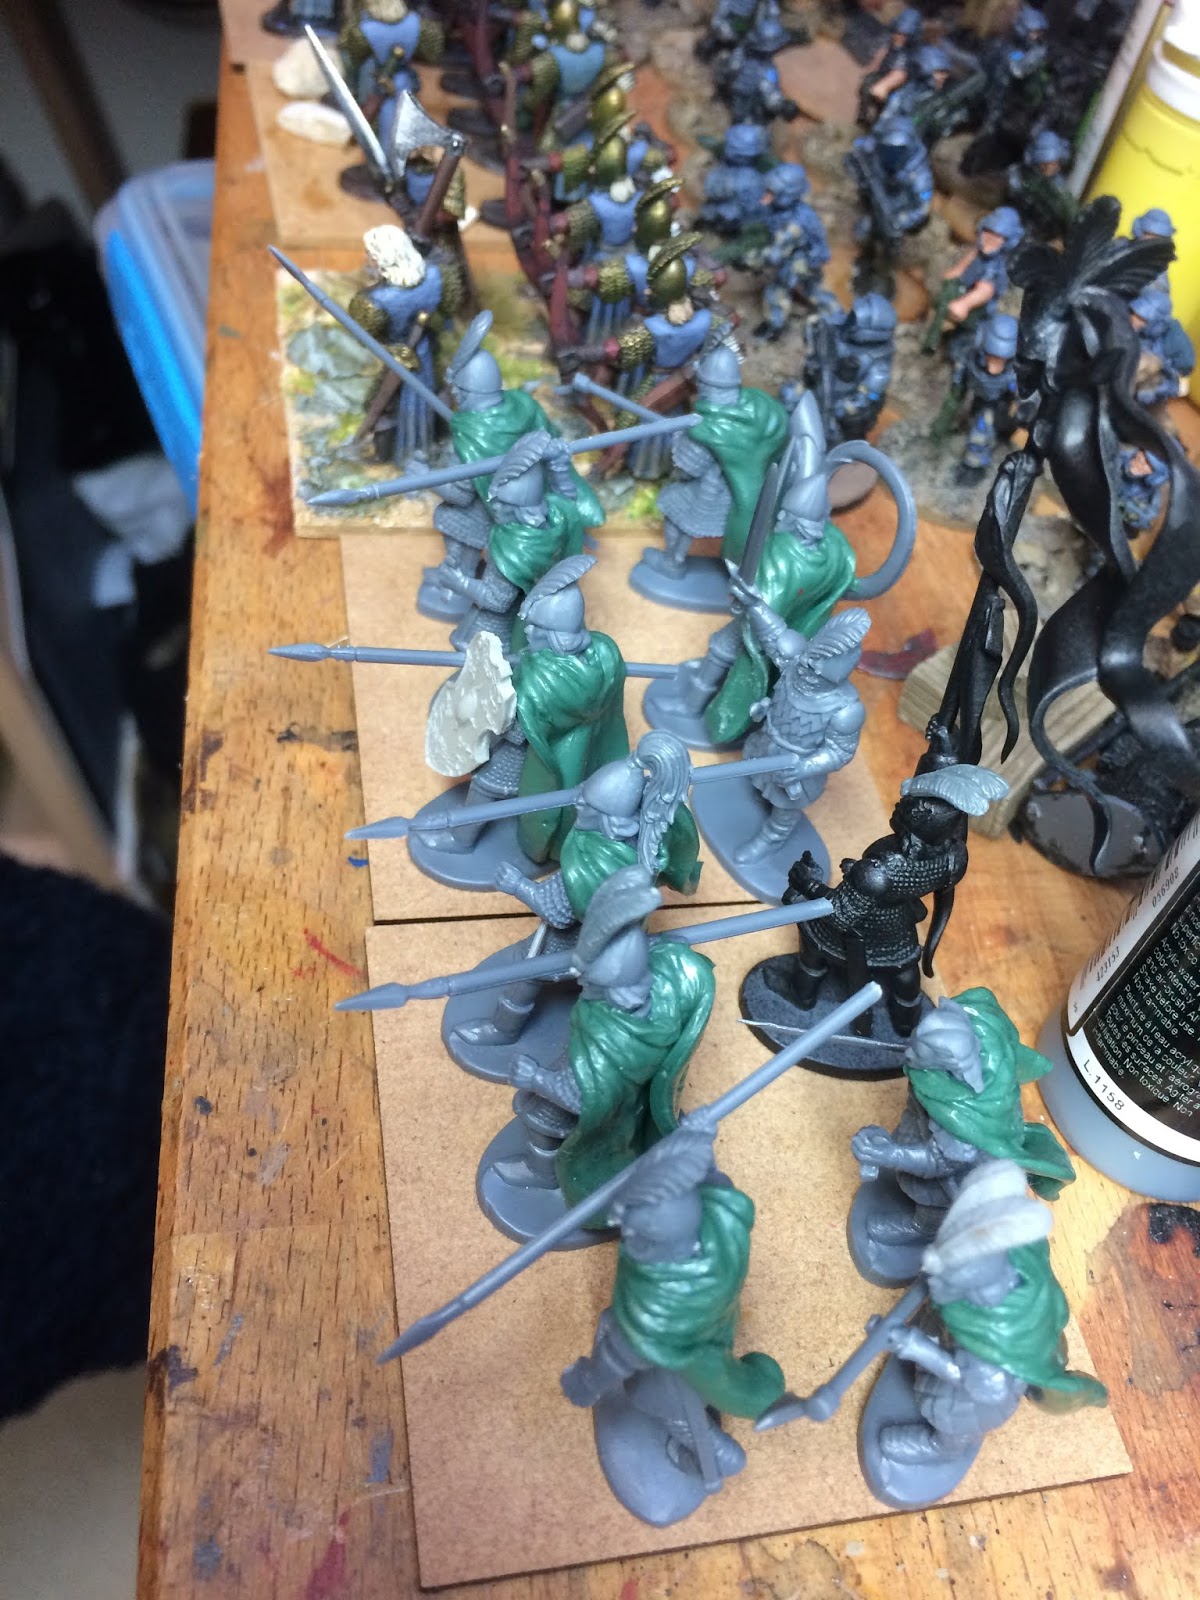
Below, working out the Elven shield wall. It's important to remember while making a hedge of spears to include a few rear ranks with spears and weapons up, this helps with the basing. This is easy to forget once you get carried away with the cool front rank poses.


Horse tails add a little variety to the large feathers on the helmets.


Here is the progress so far, there should be enough to make two units of 12 with a few left over. The problem is at the moment I started my Elf army clad in grey/blue. This looks nice but does it say Wood Elf...not really. I have been doing some tests, painting the cloaks chestnut brown, which looks very Wood Elf, however the army will now look a little disjointed between the archers and the spear men. Maybe I could do a company in brown and one in grey/blue. All things to think about...

Green Stuff Elven Cloaks

 The main thing when trying this rolling flat method is to keep the mat and the roller wet. Also another very, very, very important tip is to make up the green stuff...then leave it for 30-40 mins to cure a bit. This makes it less sticky and sculpting becomes so much easier.

After my first little success with this method I bought some sculpting tools off eBay, these were dentist looking affairs but were dirt cheap. So I recommend having a look and grabbing some, I use one of the new tools a lot and those soft folds in the cloaks would be harder to create without them.


 This GW dwarf was covered in plate armour, the front isn’t that bad but the back is covered to make him look more Dark Ages and so more Middle Earth. The rolling approach lends for a much thinner cloak which in turn creates more realistic looking creases and folds.