Six more bases done which equals an average regiment in strength.
An Officer gets gets shot through the heart.
I had fun using the ultra fine pens to create more detailed shirts.
It's nice to paint up the converted greatcoats.
I painted a lot of these guys in a dark grey similar to Longstreet's corps.
Two examples of pen work on the shirts. I must see if I can get a red colour too. This type of cheat makes these shirts a joy to do
Saturday, April 22, 2023
Thursday, April 20, 2023
Confederate Dip
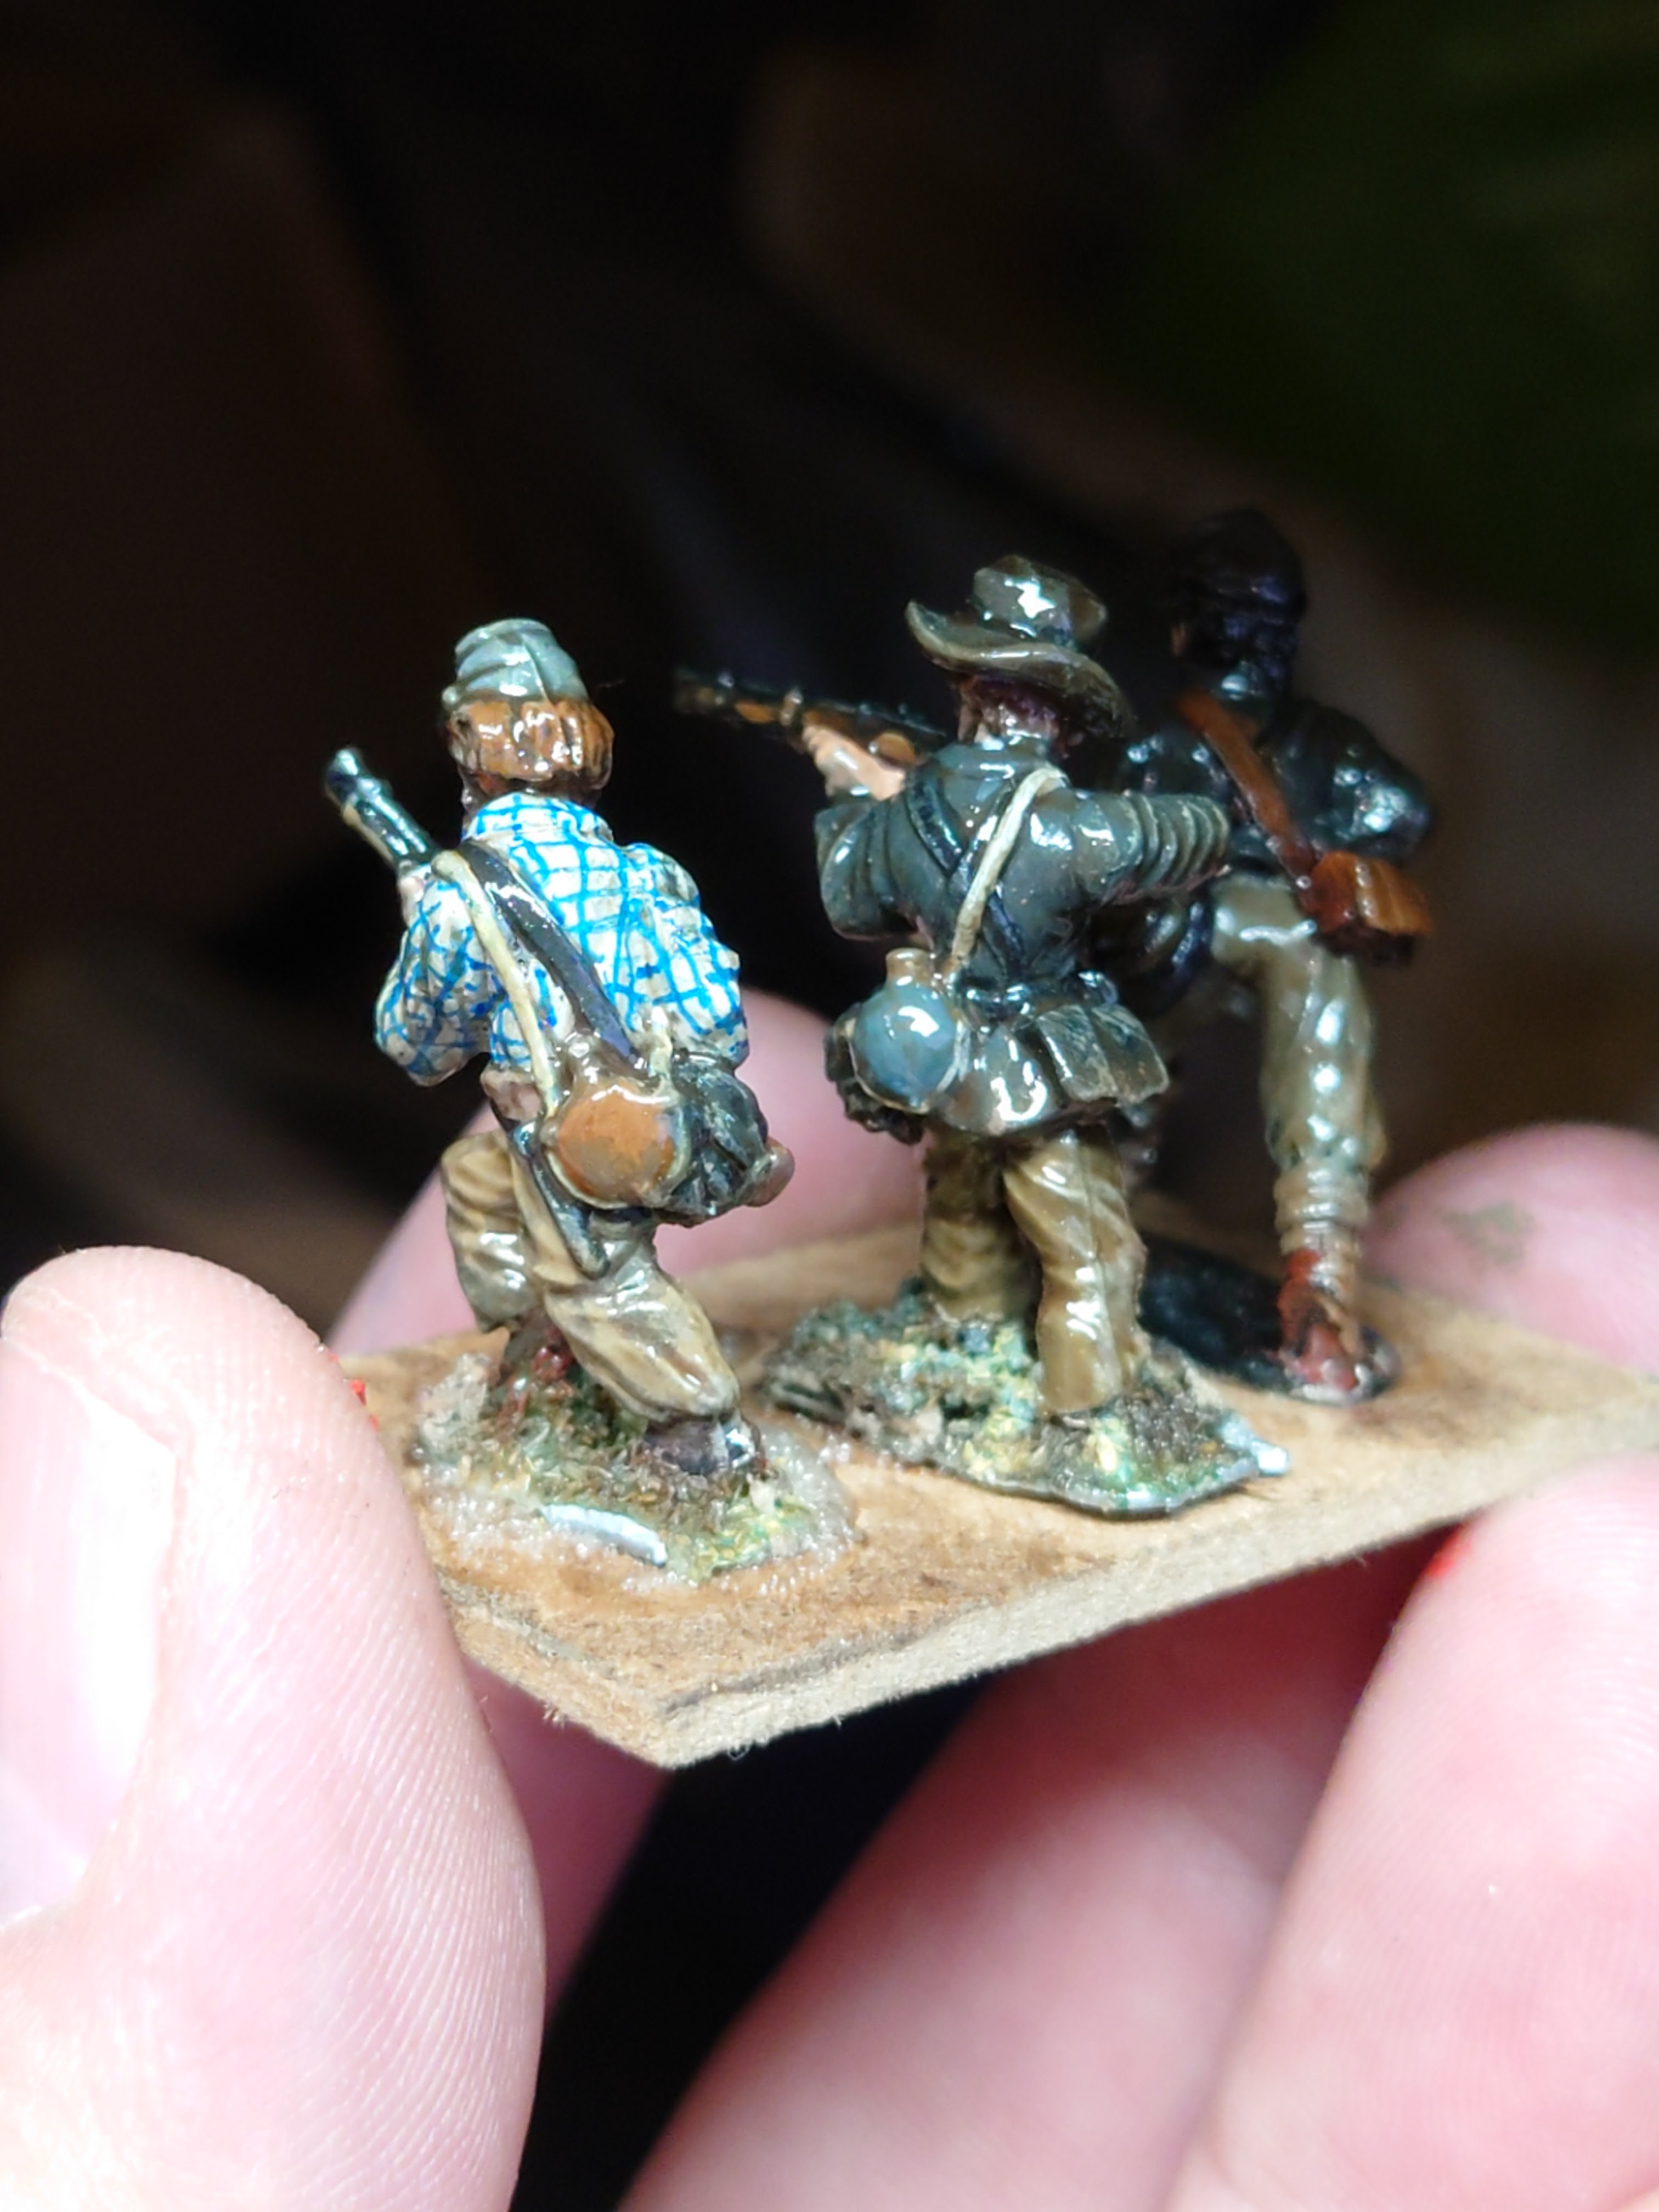
Jumped onto these cheeky chaps today for a nice break from painting Robots. I had bought some ultra fine pens I was itching to play with on these guys. These bases are very rewarding to do. I also find painting three on a base at a time, quite refreshing.
I bought a blue ultra fine permanent marker and it worked a treat on this guy's shirt.
A fine pen was used again to create easy patterns on the roll blankets.
I had swopped a few of these great coated Kepis for plastic slouch hats.
1st Corps, Foundry and Dixon figures.
Two officers receive slouch hats. I had planned to use these as Confederates, but they could look just as good left for the Union
Ready for the big plunge. The Dip was brushed on for more control.
Five new bases. I find this strong tone has a very long drying time. My last batch took the best part of a week. Time to put them out of the way and forget about them.
I bought a blue ultra fine permanent marker and it worked a treat on this guy's shirt.
A fine pen was used again to create easy patterns on the roll blankets.
I had swopped a few of these great coated Kepis for plastic slouch hats.
1st Corps, Foundry and Dixon figures.
Two officers receive slouch hats. I had planned to use these as Confederates, but they could look just as good left for the Union
Ready for the big plunge. The Dip was brushed on for more control.
Five new bases. I find this strong tone has a very long drying time. My last batch took the best part of a week. Time to put them out of the way and forget about them.
Monday, April 17, 2023
Creating Autobot Hound
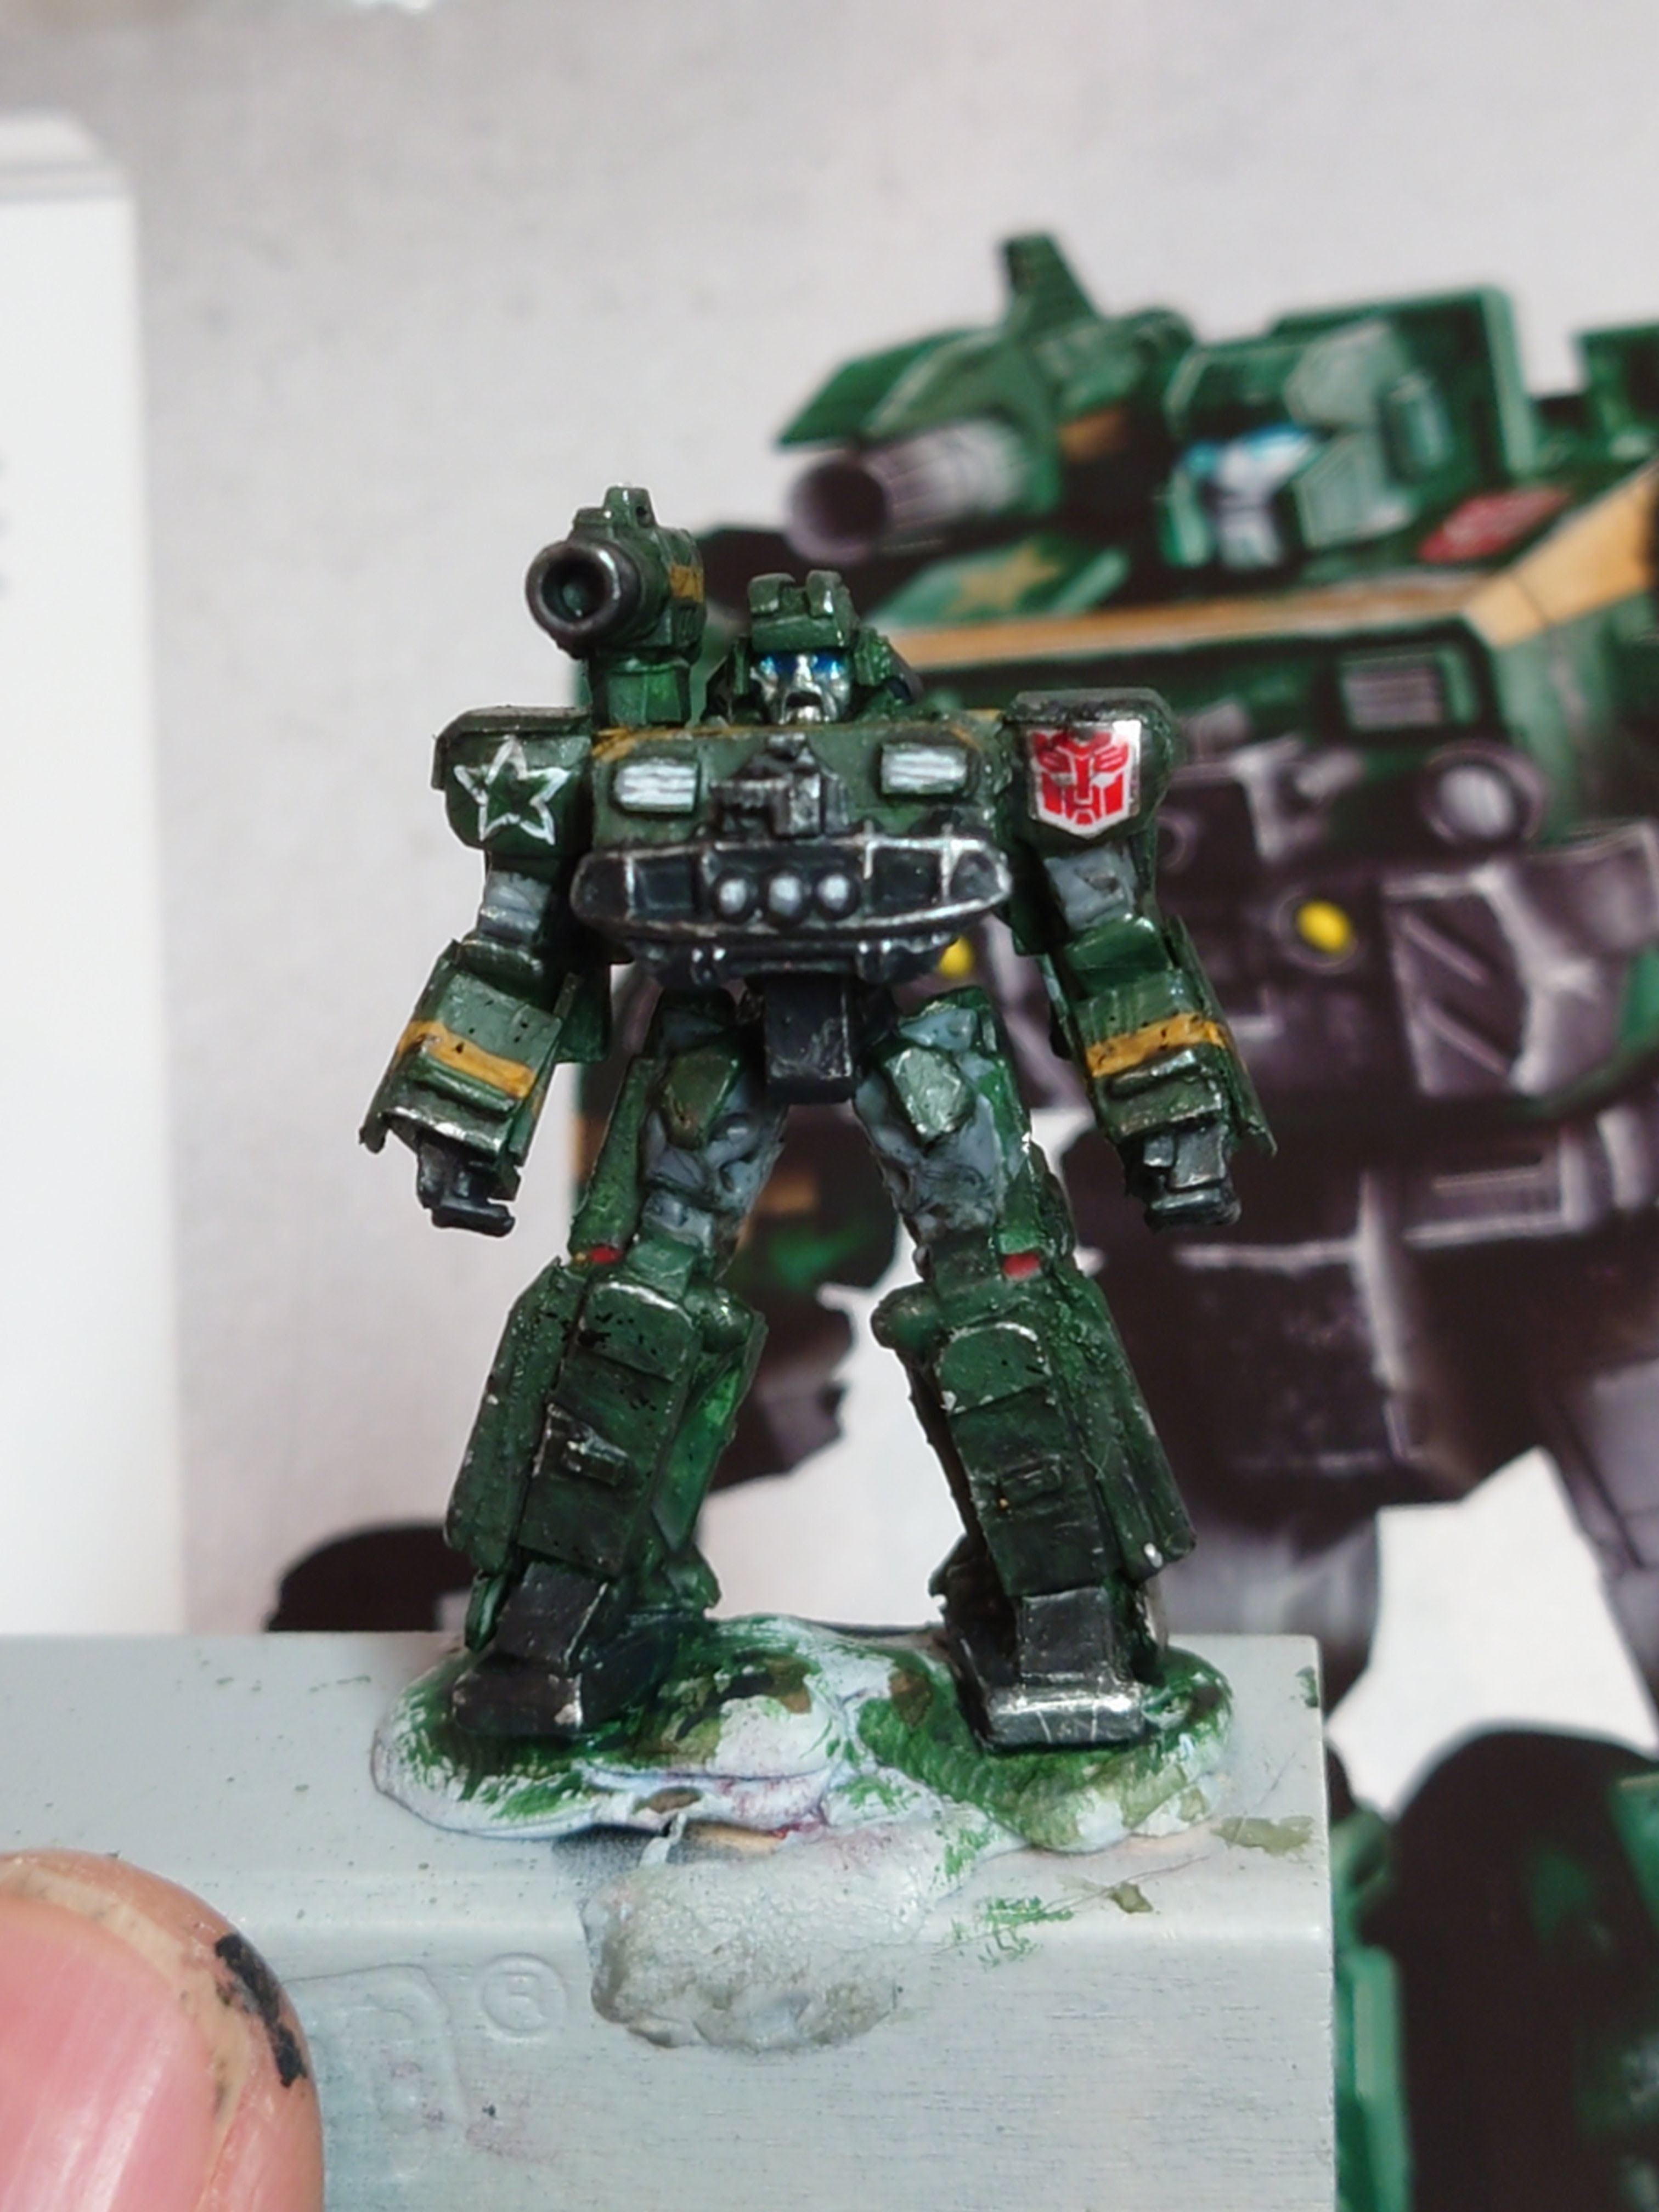
Inspired by the amazing model building at the games Day yesterday, I thought I would have a go at making Hound the Autobot scout. It's all about getting his head and chest right, although I'm creating their Cybertronic forms, so a little variation is okay in my books.
I used some thick plasticard to make his Jeep chest and reapplied the bumper I had cut off earlier. The tow winch etc were tiny bits of card.
Adding to the head is a quite a new idea but it really helps nail the characters. I'm also really impressed with how much detail you can do with a steady hand. The new Gel glue really does make things easier.
Making his hands was great fun and I pushed myself to even to his fingers and thumb. These were tiny lengths of plasticard stuck into place by Super Glue Gel. I'd been using Gorilla glue before and the results had been luck more than skill. However, Super glue Gel is far, far better for this fiddly kind of work. Much less messy too!
I chose the War for Cybertron version of Hound to use as a guide. I even managed to find a suitable shoulder gun for him that doesn't look too far off his actual one.
Maybe I made him a little too chunky by adding bits to his shoulders but hey who cares.
Hopefully when finished he will be obviously Hound to the trained eye, that's all I can hope for.
It's nice to try different things and I was pleased with how his feet turned out. This is an easy trick to do and I'll be certainly using it again for other bots. The added 2mm to his height is not noticeable when in the crowd and I suppose it will help to give them all different character.
UPDATE: A few days have gone by and I've managed to finish the build.Autobot and Hound. I was going to use a figure like this one to sculpt Hound, but glad I went for the Ratchet model. The latter has better arms and a clearer silhouette.
Sunstreaker and Hound.
Ironhide and Hound.
Now I need to make some more 40mm bases. I've run out already.
I based my Hound on the artwork for the Netflix series 'Siege'.
I used some thick plasticard to make his Jeep chest and reapplied the bumper I had cut off earlier. The tow winch etc were tiny bits of card.
Adding to the head is a quite a new idea but it really helps nail the characters. I'm also really impressed with how much detail you can do with a steady hand. The new Gel glue really does make things easier.
Making his hands was great fun and I pushed myself to even to his fingers and thumb. These were tiny lengths of plasticard stuck into place by Super Glue Gel. I'd been using Gorilla glue before and the results had been luck more than skill. However, Super glue Gel is far, far better for this fiddly kind of work. Much less messy too!
I chose the War for Cybertron version of Hound to use as a guide. I even managed to find a suitable shoulder gun for him that doesn't look too far off his actual one.
Maybe I made him a little too chunky by adding bits to his shoulders but hey who cares.
Hopefully when finished he will be obviously Hound to the trained eye, that's all I can hope for.
It's nice to try different things and I was pleased with how his feet turned out. This is an easy trick to do and I'll be certainly using it again for other bots. The added 2mm to his height is not noticeable when in the crowd and I suppose it will help to give them all different character.
UPDATE: A few days have gone by and I've managed to finish the build.Autobot and Hound. I was going to use a figure like this one to sculpt Hound, but glad I went for the Ratchet model. The latter has better arms and a clearer silhouette.
Sunstreaker and Hound.
Ironhide and Hound.
Now I need to make some more 40mm bases. I've run out already.
I based my Hound on the artwork for the Netflix series 'Siege'.
Subscribe to:
Posts (Atom)