Sunday, September 08, 2024

Bonnie Blue Flag Game

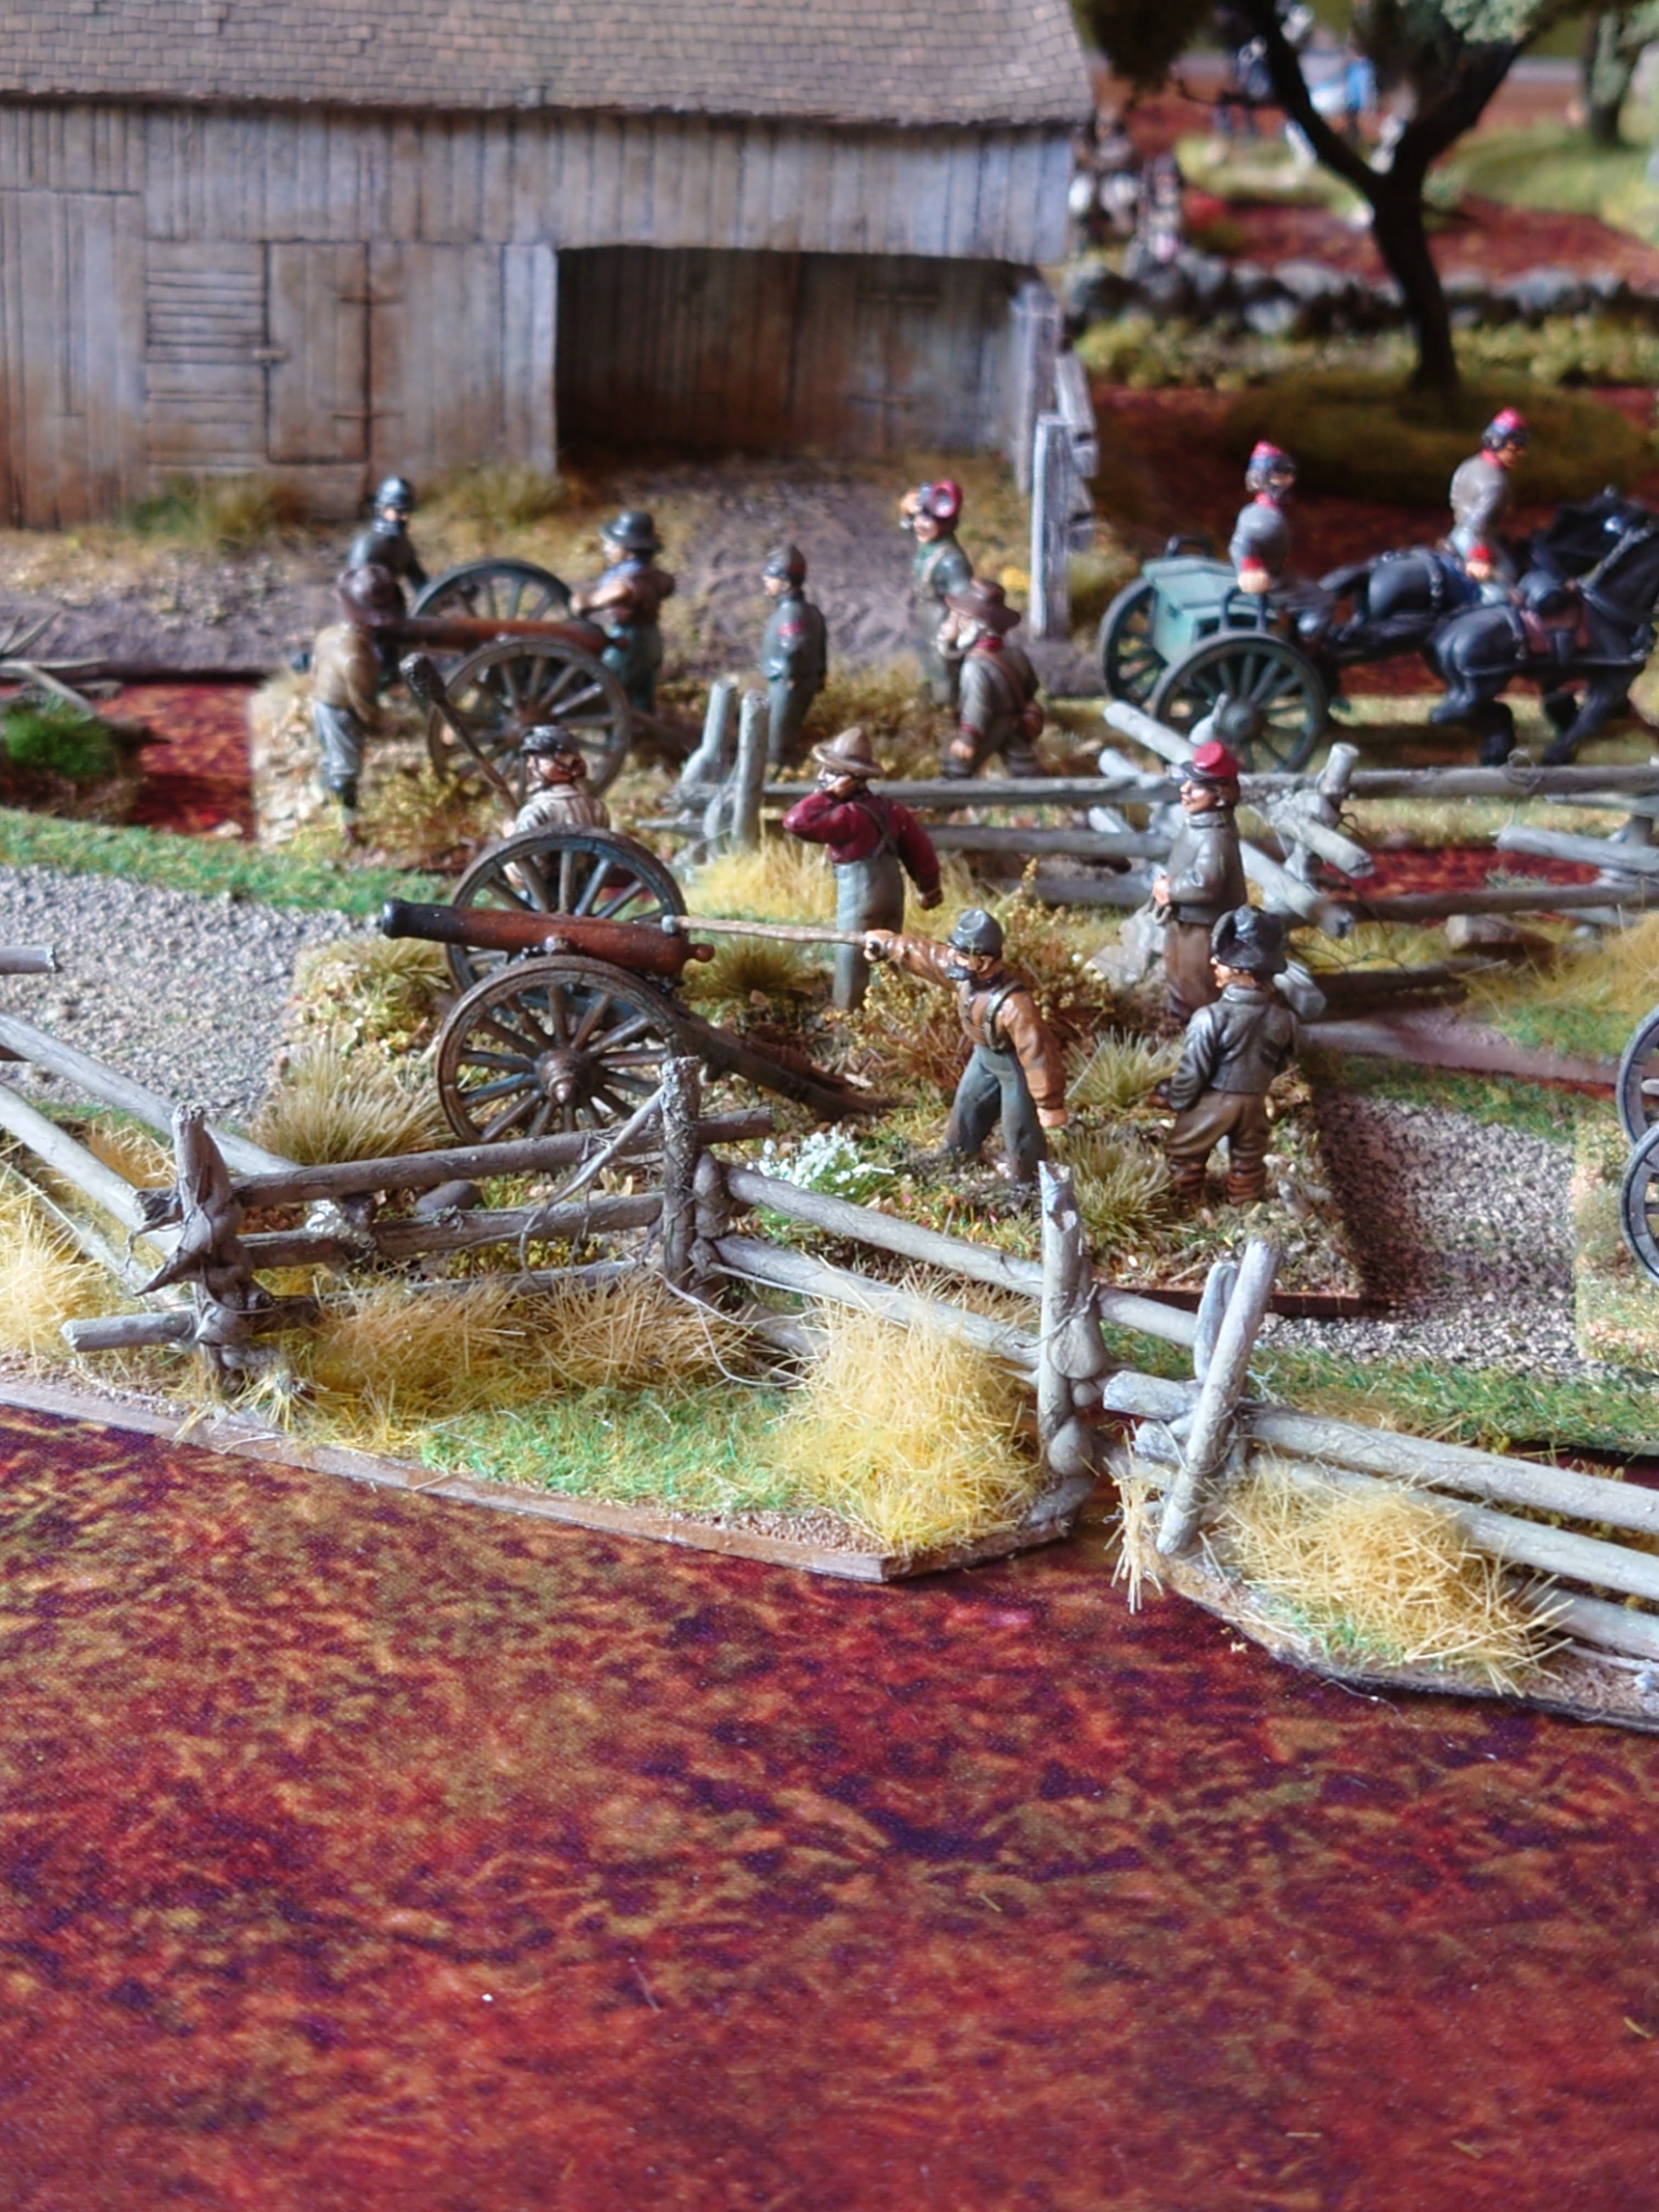
Artillery rakes the Union front line, this experienced unit weathered it but were finally worn down due to small arms fire.


22nd Alabama in glorious form, their skirmishers thrown out in front and their standards blazing.
A shot of the Union line later in the game, tattered and in shreds from prolonged artillery fire.


well, what a day I've had... I finally got all the bits to put on a game. It almost didn't happen as I couldn't find the rule book...even though I have three copies.
I enlisted the help of a veteran gamer on our games day to help iron things out. It was slow to start with obviously, but once we got into the swing of the rules, it started to fall into place.
  
I did get confused a little when working out the difficulty numbers but I think I have it now. High difficulty numbers are bad, low are good.

There was only one occasion where the 10% rule came into play, which saw the end of the Alabama regiment above. If 10% of a percentage score needed is rolled, that unit is immediately removed from play. A narrative is easy to put to such an event. The 22nd Alabama was destroyed by withering canon fire, the remnants scattered to the rear.

As it was a test game I was keen to try out everything. Above is a melee that put Billy Yank to flight. I also tried the marksman rule which saw the Union general shot and killed very early on. All the surrounding units instantly lost some resolve, not a great start for the blue team. I was playing the Federals of course.

Confederate artillery rush forward and set up on the crossroads. As the Union had lost their general to a marksmen, their iniative roll for who goes first was basically over. The Confederates gained the lead and didn't give it back all game.


Berdan's sharpshooters reach the crossroads and take cover. In this game, soft cover carries no bonuses. although they could now claim 'rested weapons' for a bonus in shooting. Being a sharpshooter unit, they ignore the minuses for long range in the shooting chart, they are also classed as veterans. They're only real weakness is they cannot close for melee and their small unit size.


 Finally after what must have been around four hours of play ( maybe more), the Federals had enough and fell back. The Rebs had some battered regiments but we're in a lot better shape than their blue bellied opponents.

At the end of the day I was exhausted, I felt like I had been in a battle myself. My brain was cooked with all the concentration from the day. However I had finally did it, I had got in a game after years of ranting and preparing. It was fun and great to see all the pieces fall into place after years of collecting for the game.

One thing that struck me was how realistic the battle seemed to play out. Regiments were halted, pushed back and returned into line after a regrouping. Skirmishers were a real pain in the arse, taking the incoming fire instead of the main battle line. This resulted in lots of small actions of skirmishers dueling it out along the front. I was delighted when Berdan's men destroyed the skirmishers of the 22nd, removing their ability to skirmish. Now I could finally target the parent unit behind.

Artillery was fun too and played a big part in the days fighting. A very fun day and a game I will definitely play again. A very realistic narrative and result seems to come out of the play

Great day! Very pleased even though I lost...


Wednesday, September 04, 2024

Aliens APC 28mm

Things are really moving along with this build now. I decided if I'm only doing one, it's has to be a green version like in the movie. I chose Tamiya black green for the base coat. I later used Tamiya Olive green to highlight it.
I used some sci- if decals to add the details to the hull. I wasn't too fussy about trying to recreate the actual lettering, I just used ones that gave off the same vibe. The writing is so small, no one is going to worry.

I used some little warning decals to the gun mounts, this will add a bit of interest.

The model was washed with black, then given layers of dust. Being used in a desert terrain, I wanted to give it a real dusty look. I also added black carbon scoring with the same black oils as before.
Some new figures from Forlorn Hope turn up, these are a little more 'Aliens' that Copplestone's later sculpts.
After the sand washes, I used some European dust from MIG. This just added some browns to the dust and weathered in the decals.
The wheels were stuck on with Gel Super glue. It was a little tricky to make sure the vehicle sat flat.

I found a great little container from a space toy set which fitted snuggly onto the vehicle. This makes a great little hard case for materials. It should look good once the rolled canvas packs are added around it.

Warning decals just draw the eye to areas that would be quite empty.

Sunday, September 01, 2024

Meeting Mr Surfacer

I thought it was time to break out Mr Surfacer. Not having worked with him before, a few tests were in order. I had seen it used on a model building video on YouTube and knew it was good for a heavy armour effect.

I had originally bought it to use on my heavy walker pictured here. My Aliens APC was so marked by the printer that I thought I might try some to smooth of the hull.

After messing around trying it on the walker first, I found the best way is to stipple it on to produce that heavy armour look. By this point the brush had given up the ghost and made a good stippling tool.

As it goes on quite think, little scratches and dents can be added in the armour. These should look great when painted and dry brushed.
I had first tried to sand it down but this was the wrong approach for this mech. As I mentioned above, stippling gave a really good tank armour effect.
I did make some custom tools out of nail files.
A close up of the stippled tank armour, perfect for this old walker.
This top view shows a thick coat of Mr Surface on the APC. When this is dry, I will sand and smooth it flat. The printed ridges are now gone.
On opening the bottle I was covered in a nuclear goo.
This stuff is toxic and will destroy any brush that touches it. It also stinks to high heaven so be careful.

 I added two coats onto the roof of the APC as one was not enough. You must be patient and give it enough time to dry, before trying to sand it down. This I struggled to do.

Update: After a day's wait, I gave the vehicle a blast with a black rattle can.
I've decided to make this APC my own by adding lots of little extras. I'm even thinking of giving it a desert colour scheme to go with my Desert war idea. This is frying my OCD though to bits!
I did play with the idea of getting a couple of these and doing two colour schemes, however, the hassle getting to this point has put me off the idea. So with just one to paint, what's it going to be... original film or desert camo.
I added an extra fuel can, I plan to stack this vehicle with cargo and give it a real campaign look.

I've added lots of tiny details with plasticard. These should catch the eye.


Saturday, August 31, 2024

Aliens APC 28mm

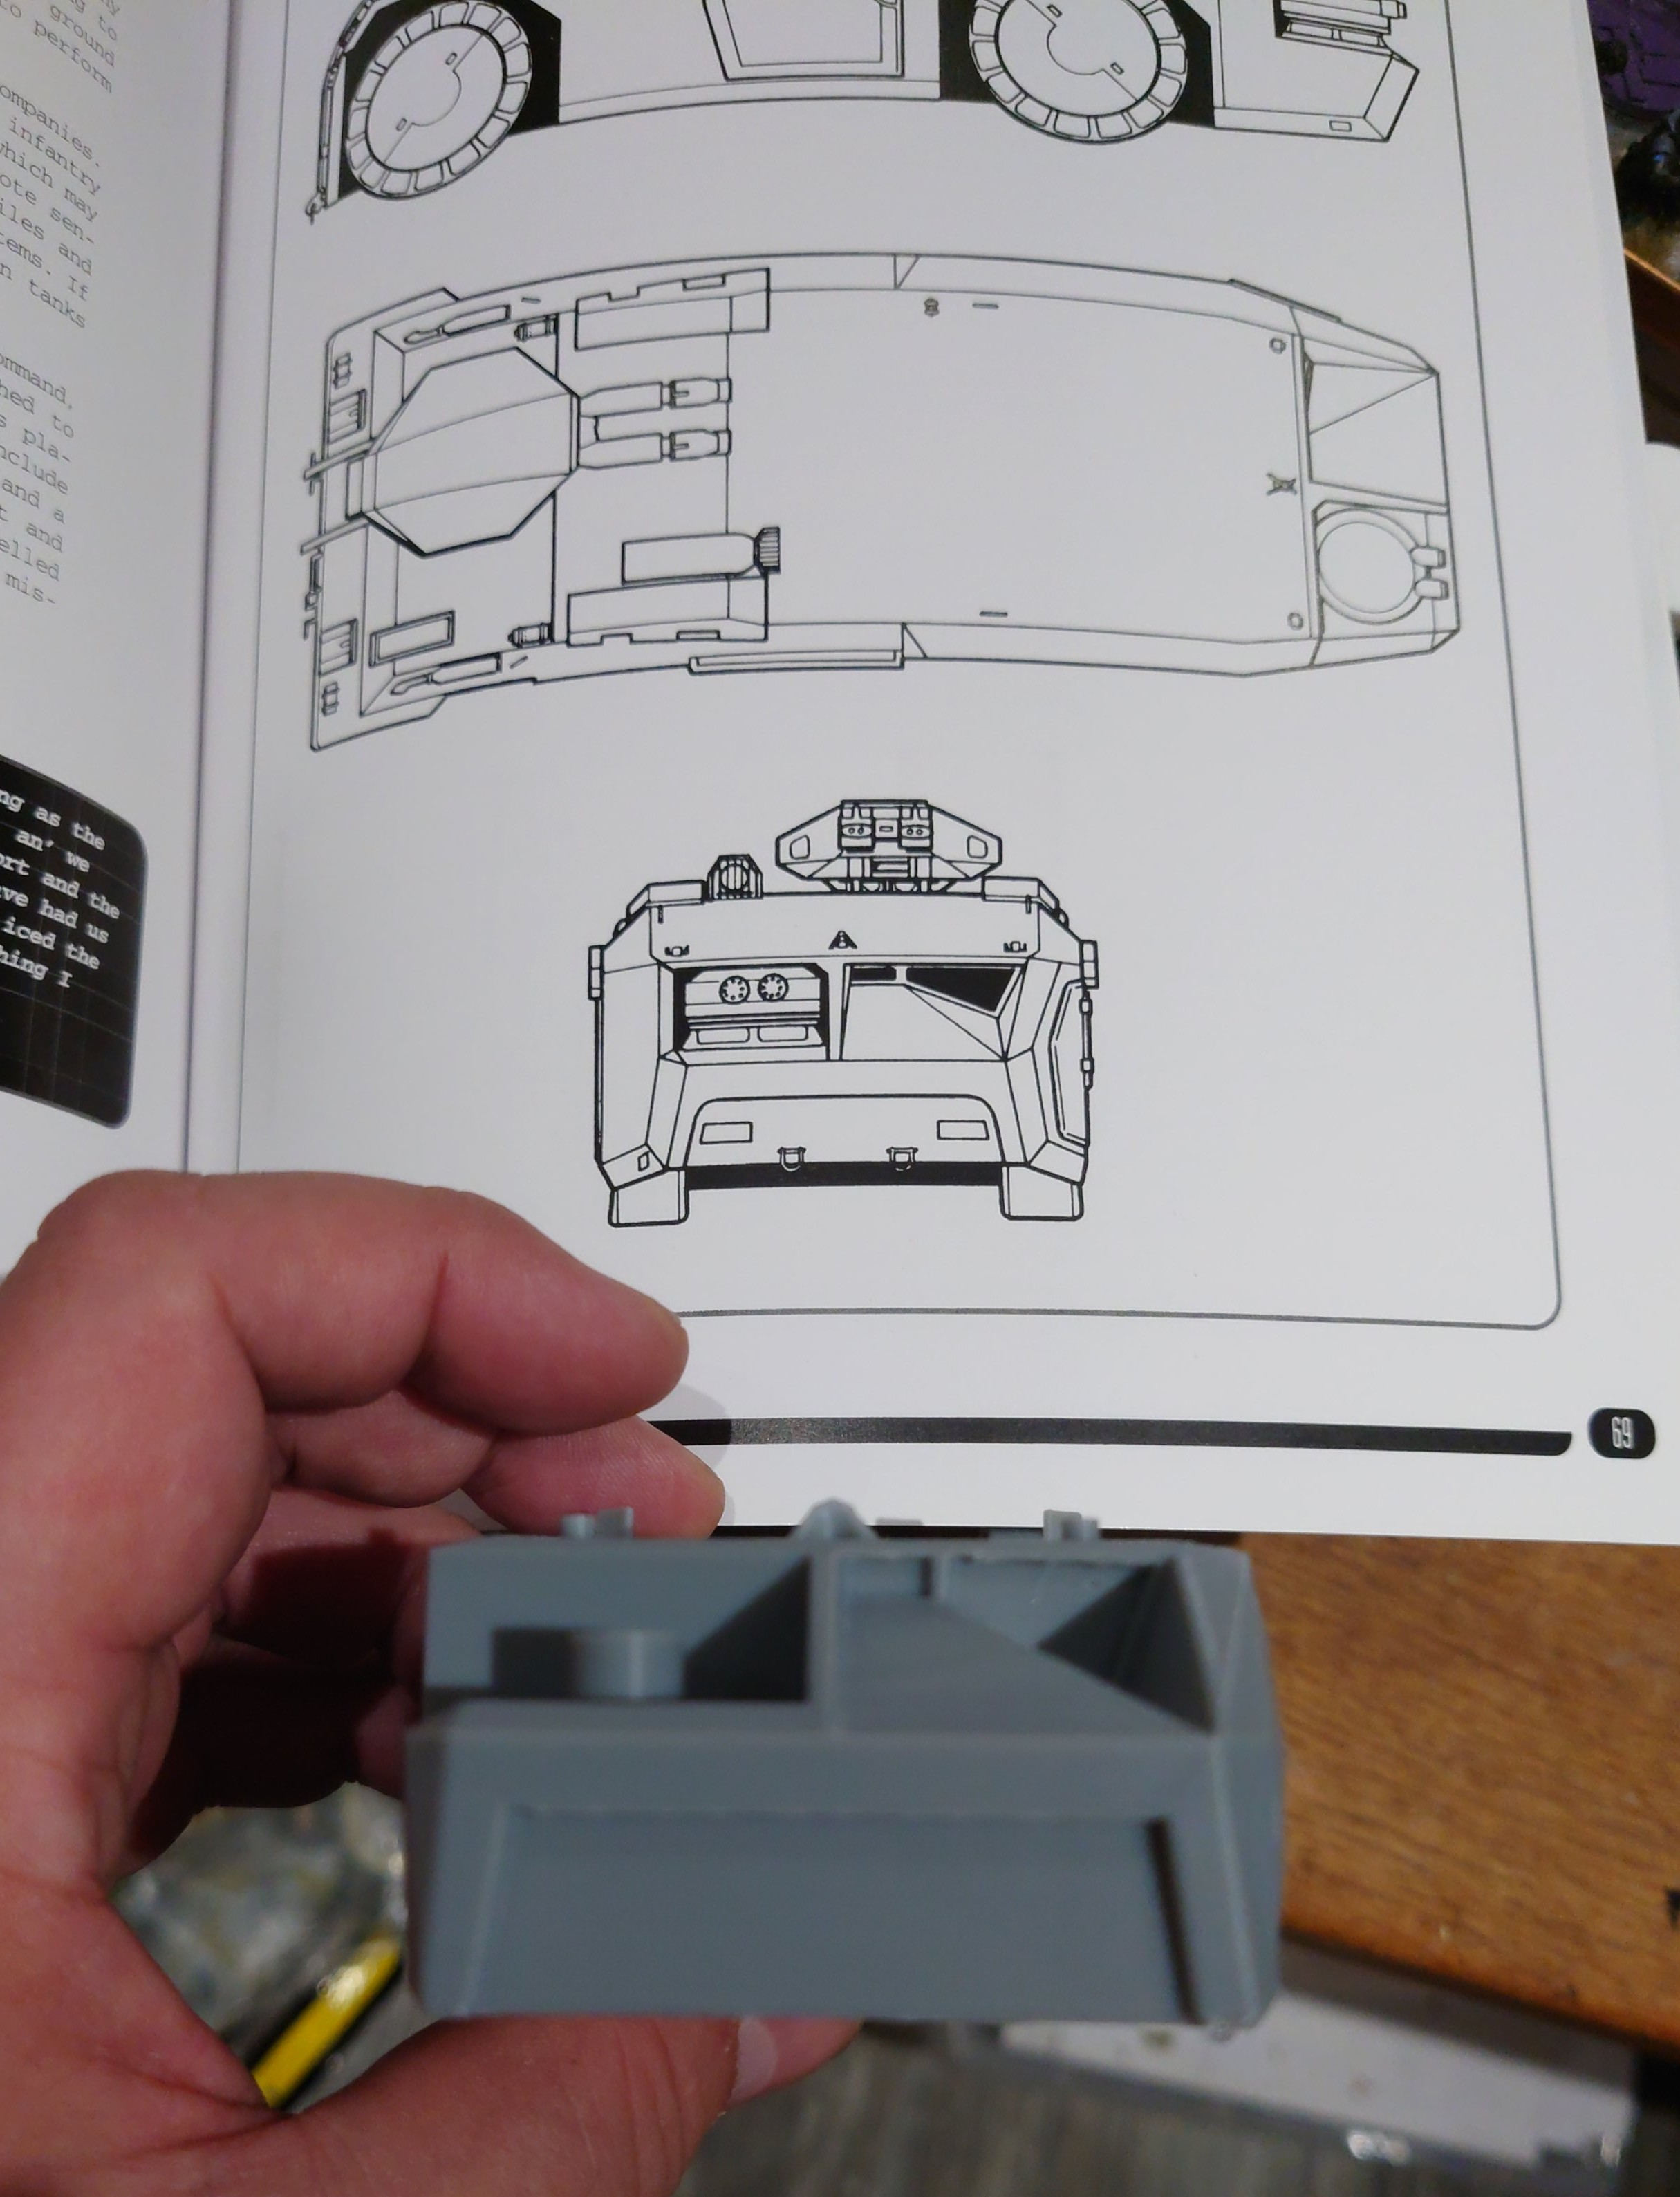
Bought this APC for the desert war project from eBay. It is good but does have a few details missing. These were easily fixed with some plasticard and patience.
I'm really pleased with myself as I managed to rig up a way the main gun can be stored at the rear and fixed into a fire position. I had thought magnets were the answer but in the end I used a layer of plastic to lodge the gun in place on its rails. This is good as the gun can still rotate.
A dry fit just to see the scale of the vehicle.
Wire mesh is used to add some detail to the vents.
There are some print lines on the vehicle which I will try to work around.


I cut a small slice of cinder to act as a light. A piece of mesh acts as a guard. Above can be seen the small piece of plastic that keeps the gun in its firing position.


The door does look good open but it is rather loose just hanging in place on a runner.

 I also added some lights and towing equipment.