Well here they are, three Southern G17 ‘Ground Hogs’, slow but tough and liked by the troops for their spacious interiors.
To add a little further detail to the resin mold I cut a piece of mesh and stuck it on top, hopefully this will look like a walk way for the troops.
The decals are always fidley but they are worth it in the end. I think they can make a model and give focus to an area. The troopers seem to be happy with the added protection so that’s a bonus and makes everything worthwhile.
Saturday, October 19, 2019
Pin Wash
After watching a lot of YouTube, I thought I would give it a go at making my own pin wash from enamel thinners and oil paint. It was easy to do and I felt I had advanced an experience level in the world of hobby. It was a little tricky at first and In the end I kind of just went for it, making it up as I went along. It looked a lot easier on YouTube...
So really my pin washes became just a general wash all over. This was great for creating a greasey grime look. I also tried a slightly reddy oil brown for rust which worked quite well. Regardless of the results this part of the process was immense fun and rewarding. I have always looked at those military modeller magazines in shops and now I’m using their techniques, I felt I was learning something new.
I still have a few things to do, like paint the inside of the track housing black, add stoage and maybe some dirt/dust. I’m not quite sure how to make the dust stay on the model and fix it. More YouTube is required I think.
So really my pin washes became just a general wash all over. This was great for creating a greasey grime look. I also tried a slightly reddy oil brown for rust which worked quite well. Regardless of the results this part of the process was immense fun and rewarding. I have always looked at those military modeller magazines in shops and now I’m using their techniques, I felt I was learning something new.
I still have a few things to do, like paint the inside of the track housing black, add stoage and maybe some dirt/dust. I’m not quite sure how to make the dust stay on the model and fix it. More YouTube is required I think.
Friday, October 18, 2019
Decals
Getting late now but the armour is still rolling forward. I used my collection of Gundam decals to put some detail on the panelling.
I think I must be changing because a few years ago this was my idea of hell, but now I’m kind of enjoying applying the decals. I bought these for my 15mm Sci-Fi collection but again like the forest tarrain, they are useful for this scale too. I also bought some American tank names from EBay as these are going to be fighting the 2nd civil war.
Blue Tac Camo
After a quick touch up with some black paint the APCs are back on the road. The next step is a coat of floor varnish to seal everything and get ready for the decals and pin washes.
The camouflage certainly seems to be working, already the silhouettes of the vehicles are getting more difficult to make out.
The results are in
The ocean gray colour is very military and suits these CONFED forces.
Well all in all not bad although a slight hiccup with some of the paint not sticking. I think this came about because I used my fingers not a brush to scrub the pieces in the warm soapy water. Still this is a quick speed project and it’s all part of the learning for next time. Nothing a lick of black paint can’t fix.
Future Camouflage for APCs
Right here we go.
Let’s try this old and tested method of using blue tack to create some patterns. I’m kicking myself because over the years I’ve collected Tamiya masking tape for just such an accasion. However I can’t find them anywhere, even after turning everything upside down. I had planned to make the patterns with geometric straight edges but this was not meant to be. Maybe it was for the best because the models are very textured and time was a real issue again today, cutting all the tape into shapes would of taken much longer and I managed to crack this lot out in about 30 mins. They are drying at the moment so we’ll have to see how they turned out.
I always set out to do three colours but I have found sometimes the most striking patterns are just a combination of two. Also I don’t have an airbrush so I’m using humbrol spray paint, too many layers of this I think would start to cover fine detail.
Thursday, October 17, 2019
Mobile Infantry
Well the epoxy glue was a success and with the vehicles holding together I thought I would try some shots for scale. Once a few figures came out it wasn’t long before trees and foliage started to follow. I made these bases for my 15mm Sci-Fi figs but they work just as well for this lot. Time to send out a recon patrol this place gives me the ‘grundarks’.
Wednesday, October 16, 2019
APC support
I found these APC’s on eBay and thought they had the right Sci-Fi look for my Platoon. They took a lot of cleaning up as the resin was quite bubbly, however it gave me a chance to use my dremel. I have had it for years but never found a chance to use it, this resin was the perfect excuse. The other hurdle was working out what to glue the pieces together with. My wife told me about the properties of two part epoxy glue. We tried it and it worked. Two new things in one night I might have to sit down...
Friday, October 11, 2019
CONFED Heavy Infantry
I managed a bit of painting tonight and got this squad of Heavy infantry finished. I might still mess around with them but they are as good as done. The figures are from Pig Iron productions.
The visors are Tamiya metallic blue, I will keep the shine but giving them a layer of floor varnish and leaving it gloss. It’s a bit ‘Halo’ but I kind of like that fact and it’s an improvement to how I had it before, just dark gray.
Friday, October 04, 2019
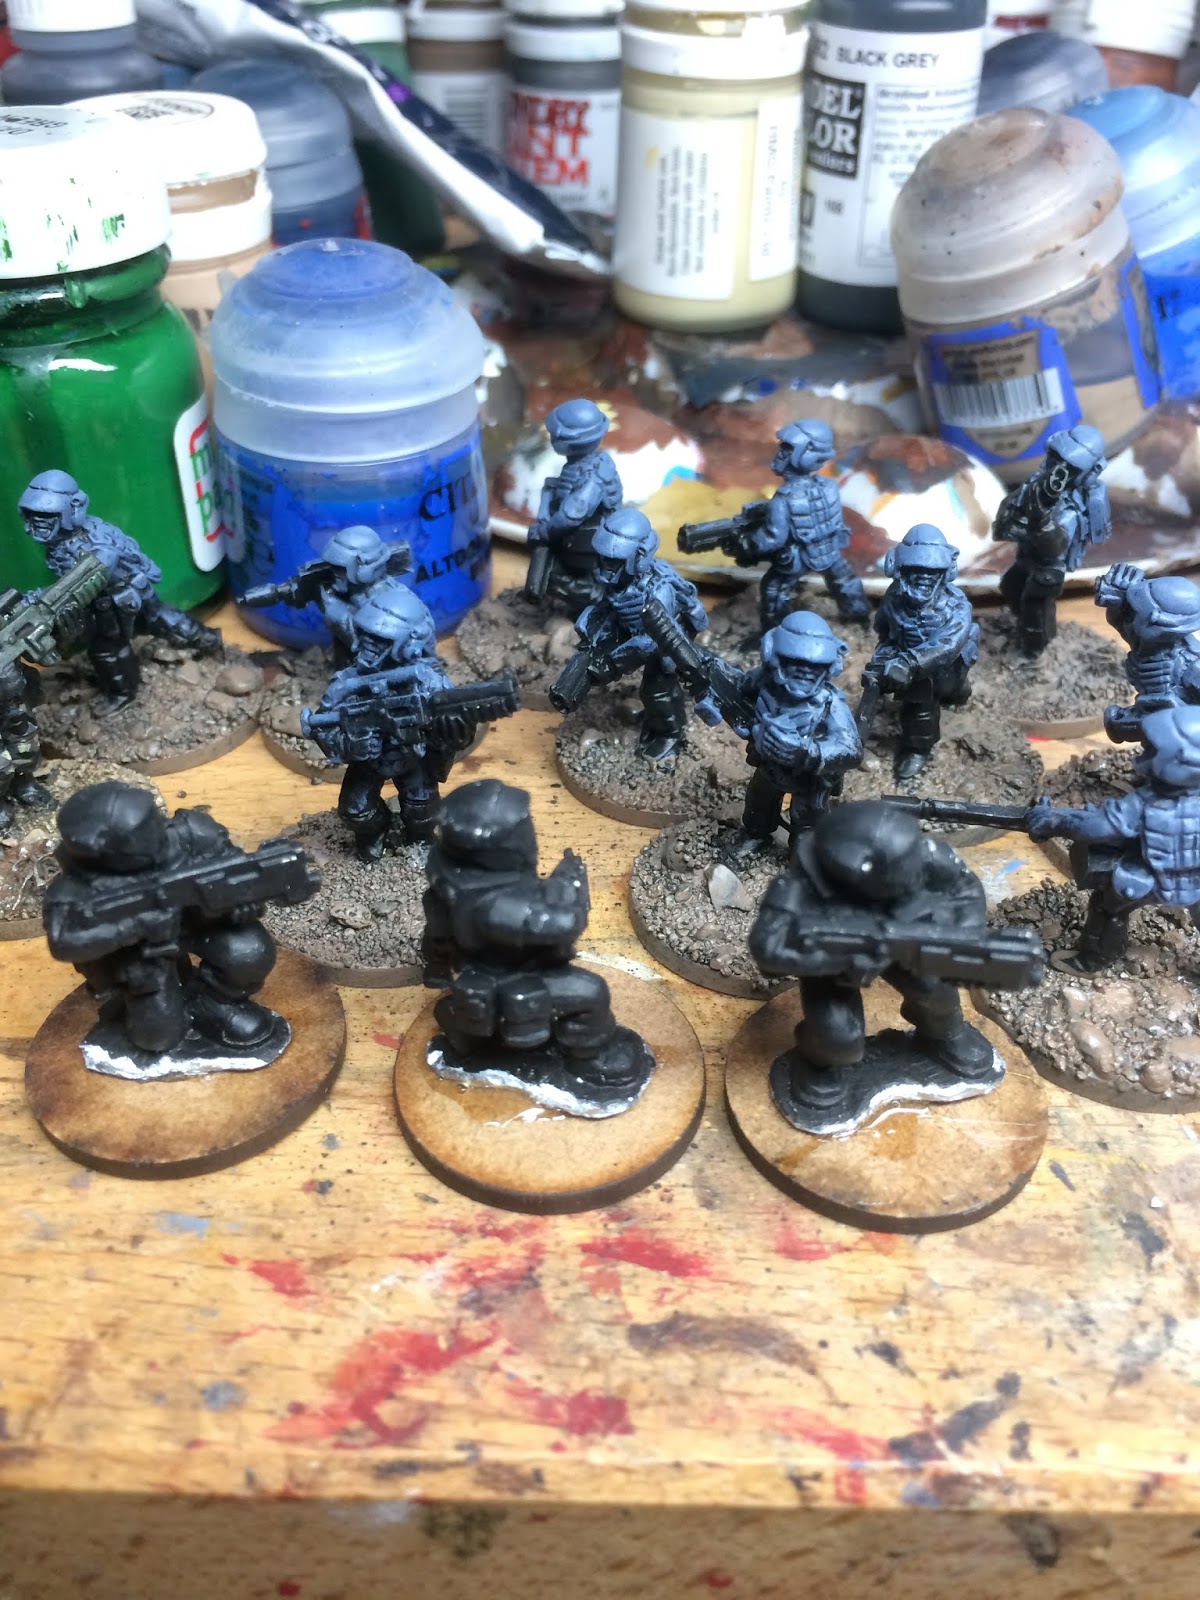
Pig Iron vs 1st Corps Sci Fi
I ordered a pack of Pig Iron heavy infantry from EBay a day or two ago just to see if they would work with my 25mm 1st Corps troopers. I was a little daultful but I was delighted to find they worked quite well. They are true 28mm but luckily most of them are crouching under fire so height wise they look great. They are of course meant to be big strong heavy armoured troopers so I can forgive their bulky frames. I came across Pig Iron miniatures a while ago and fell in love with their ranges, so I’m really pleased to finally get to paint and use some of them.
Subscribe to:
Posts (Atom)