

So with one shotte sleeve mounted on card I sprayed them with black.
Next comes the fun bit, over the black undercoat I dry brushed a layer of leather brown. This was then given another layer of slightly lighter leather drown. These quick coats of paint take care of the bandoliers, belts, sword scabbards, shoes and some head ware.
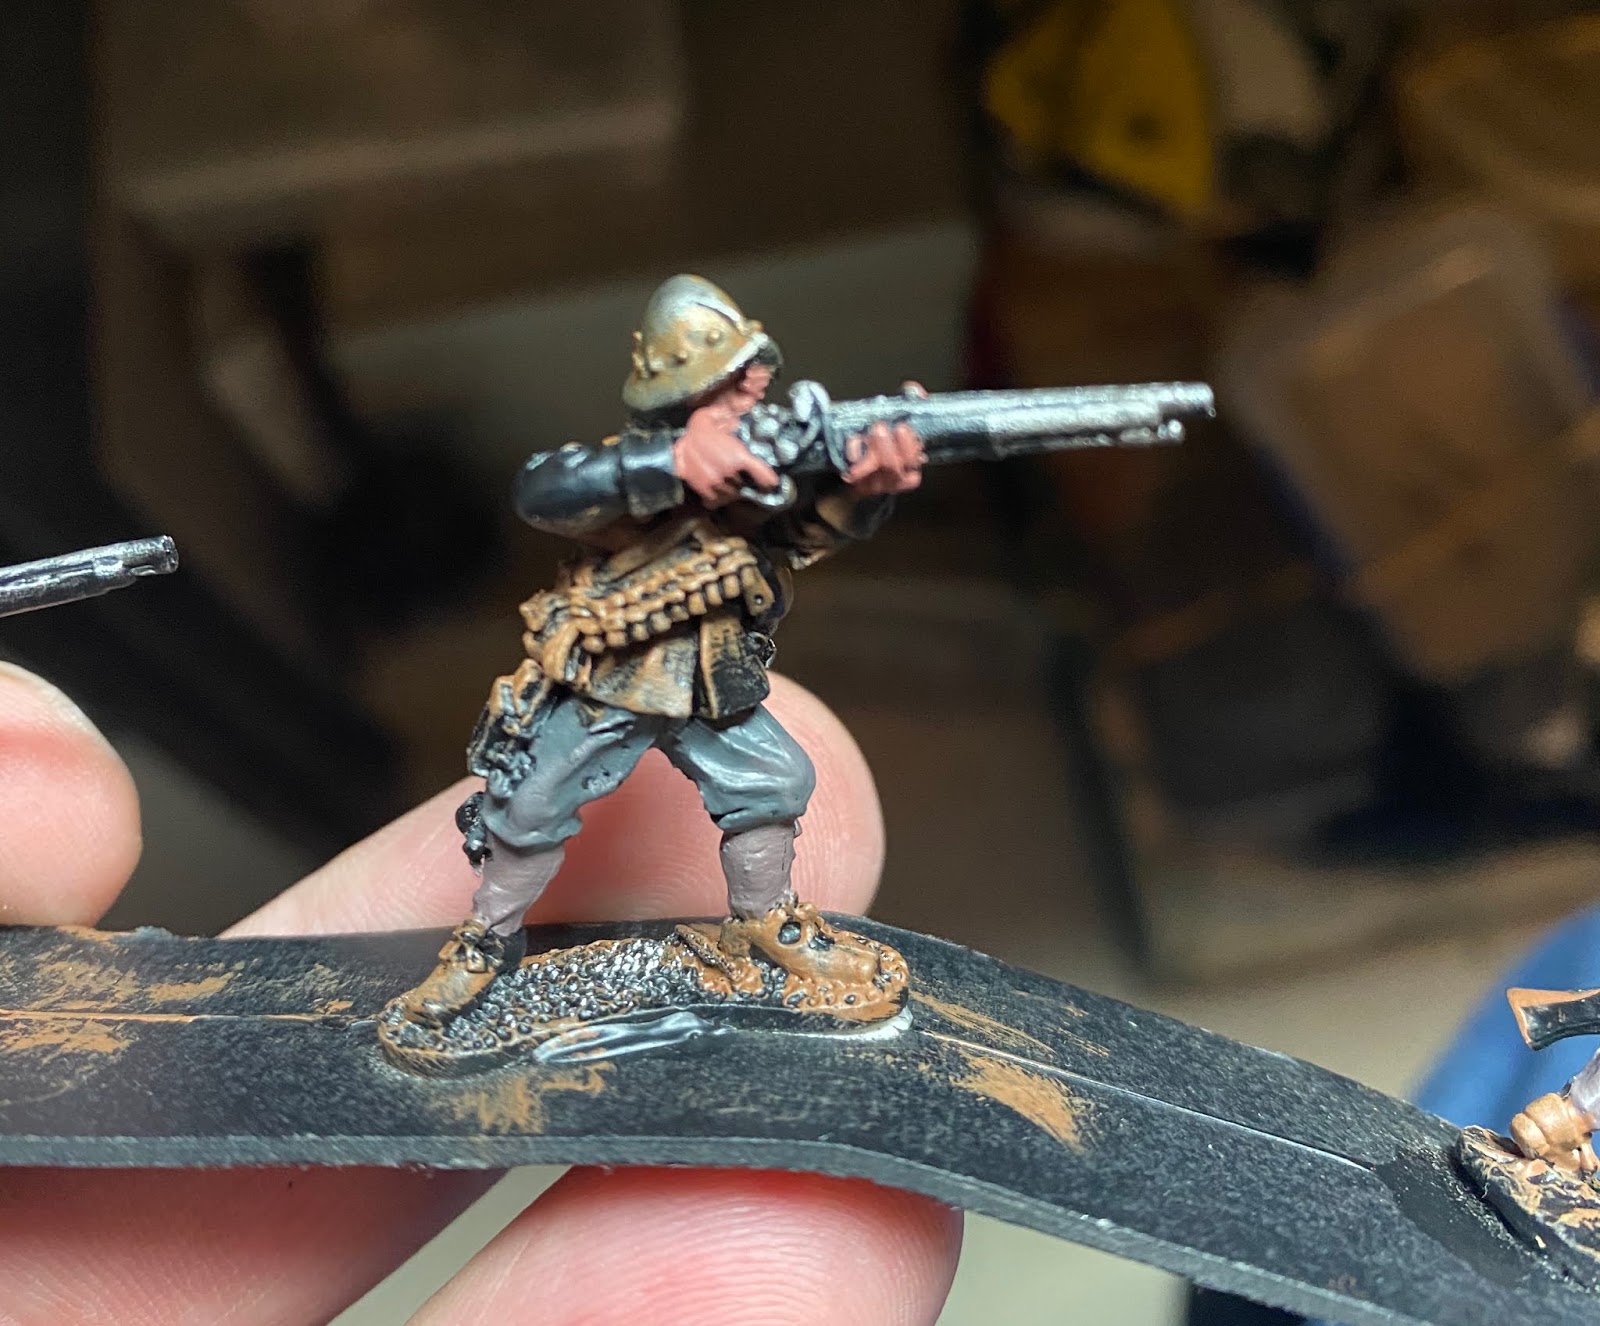
After this I start to block in the flat colours starting with the trousers. I chose a grey colour but after doing four or five started mixing in other browns to vary it. A red was also added, you can’t really go wrong in this bit as long as all the colours look muted and natural.
I found a photo ref off the internet and this will act as a guide. This is as far as I got last night after dry brushing on the metal for the sword and gun barrel. Next up I will carefully block in the red tunic around the leather belts. If I found myself with any light brown or grey on my brush I gave certain coloured areas a quick dry brush. This is great for knees and seats of trousers.
I will be doing two layers on my flesh as I think it’s an area of weakness when painting minis for Army Painter Dip. A little extra time here should really pay off on the finished piece.
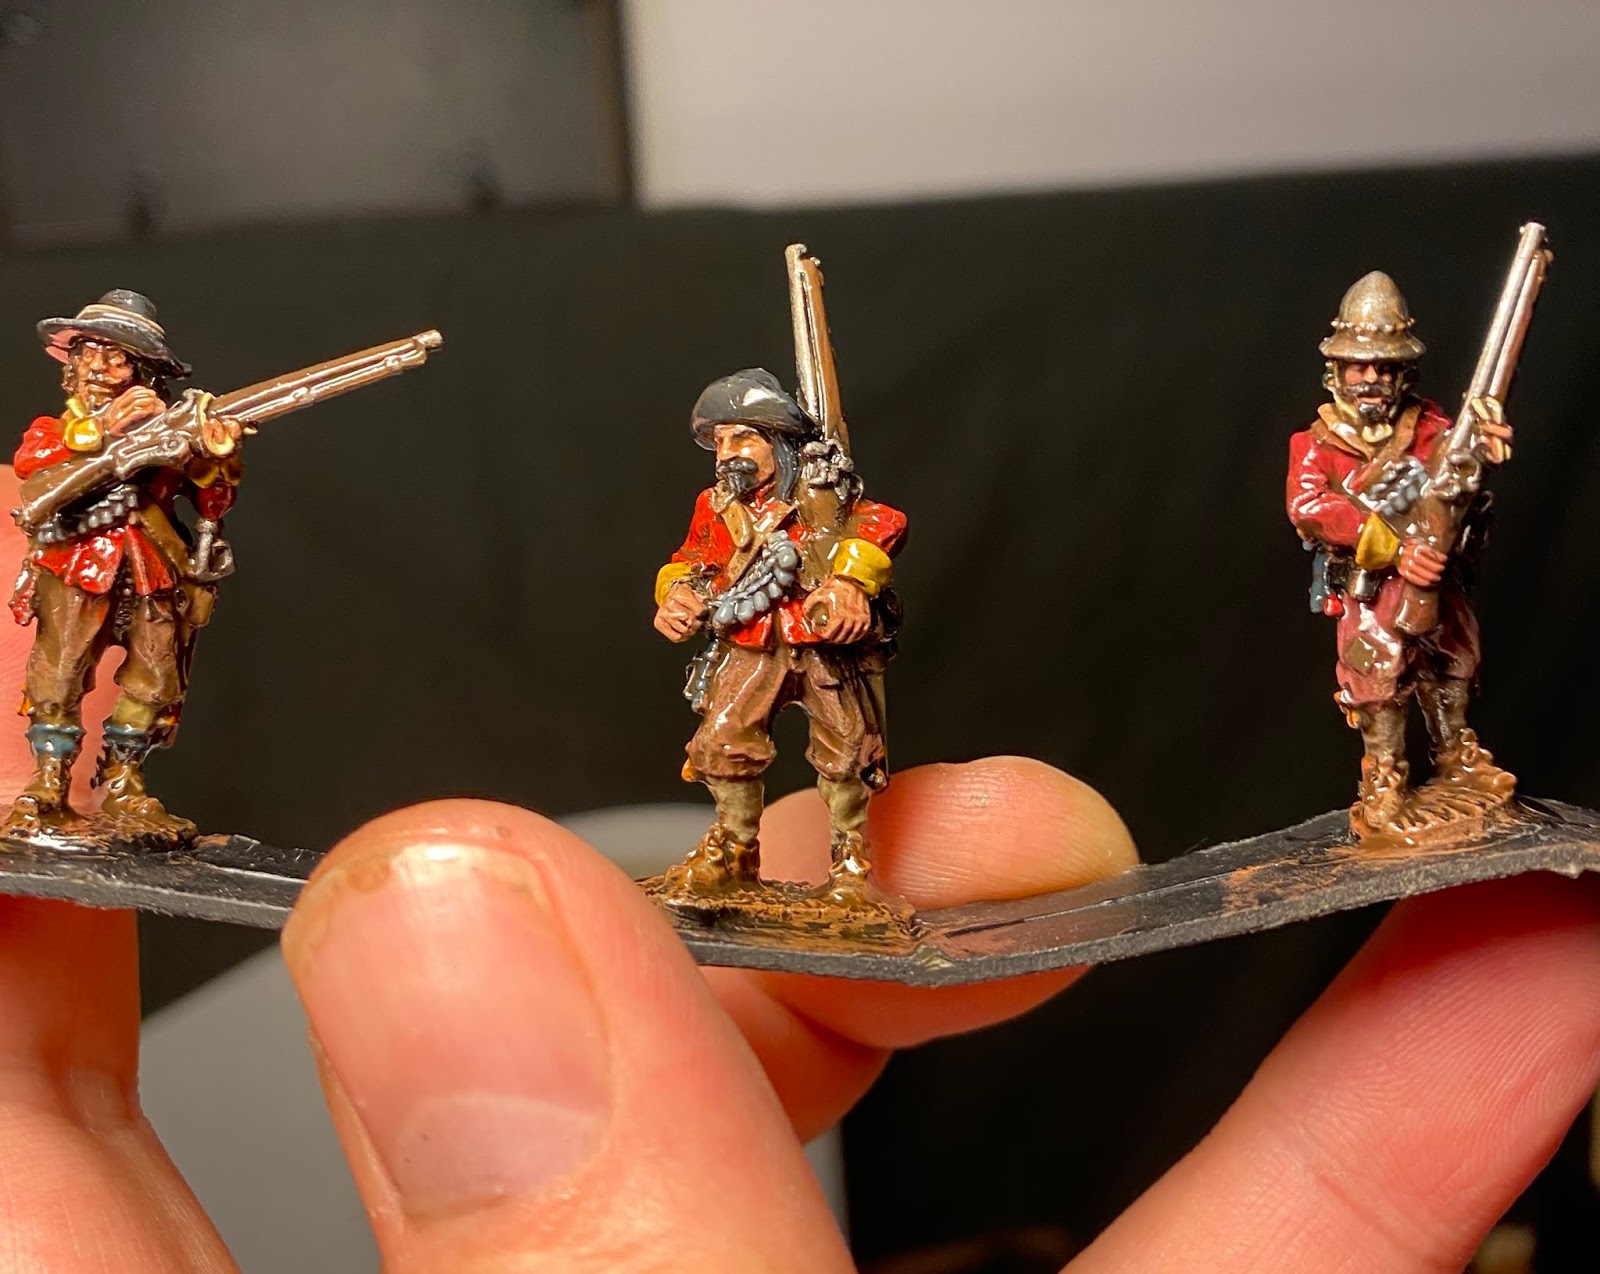
I think dry brushing the leather brown really looks good and takes care of around 40% of the figure in one go. The rest is flat colours with the odd dust stain on the knee and elbow. Painted in strips of five this lot took me two hours so far, Sir Spencer Redmond’s Regiment of Foote has started to arrive.


Creating new imaginary regiments I have to say is a massive part of this project for me. It breaths so much more fun and enjoyment into the game. My wives regiment is almost completed and should be finished in the next day or two.
A huge part of the fun comes from creating new standards and a huge shout goes out to Flags of War, where you can design your very own unique ones. It’s a very novel idea and really helps to personalise your armies and games. I have already bought enough sets of custom standards to account for most of my close friends and family. For campaign games it will really come into it own with units becoming veteran etc. I highly recommend popping along and checking out the create your own standard feature for all the reasons above. All arms of the armies are covered including horse and Dragoons. Recommend!


Before I Dipped I went over any areas I wanted the detail to stand out in, with black ink (Nuln oil). This was the entire musket and the bandolier, powder flasks, buckles, armour and sword hilts. Anything black too like hats got a wash ( they were painted with Corvus black to start with) so the ink helped shade them. Doing this helps bring a greater sense of contrast to these areas.
Now they are ready for the Dip. When I Dip I give the can a good stir with a stick. This is important as I drip some of the thick dark stuff from the bottom into the lid. I use this as the really dark stuff for shading certain colours like brown and red. For lighter shades of brown, yellows and greys, I dip the brush into the top of the can where the solution is weaker. Doing it this way gives a tiny bit of control over how dark the shade is, but still making sure the model is nicely varnished.


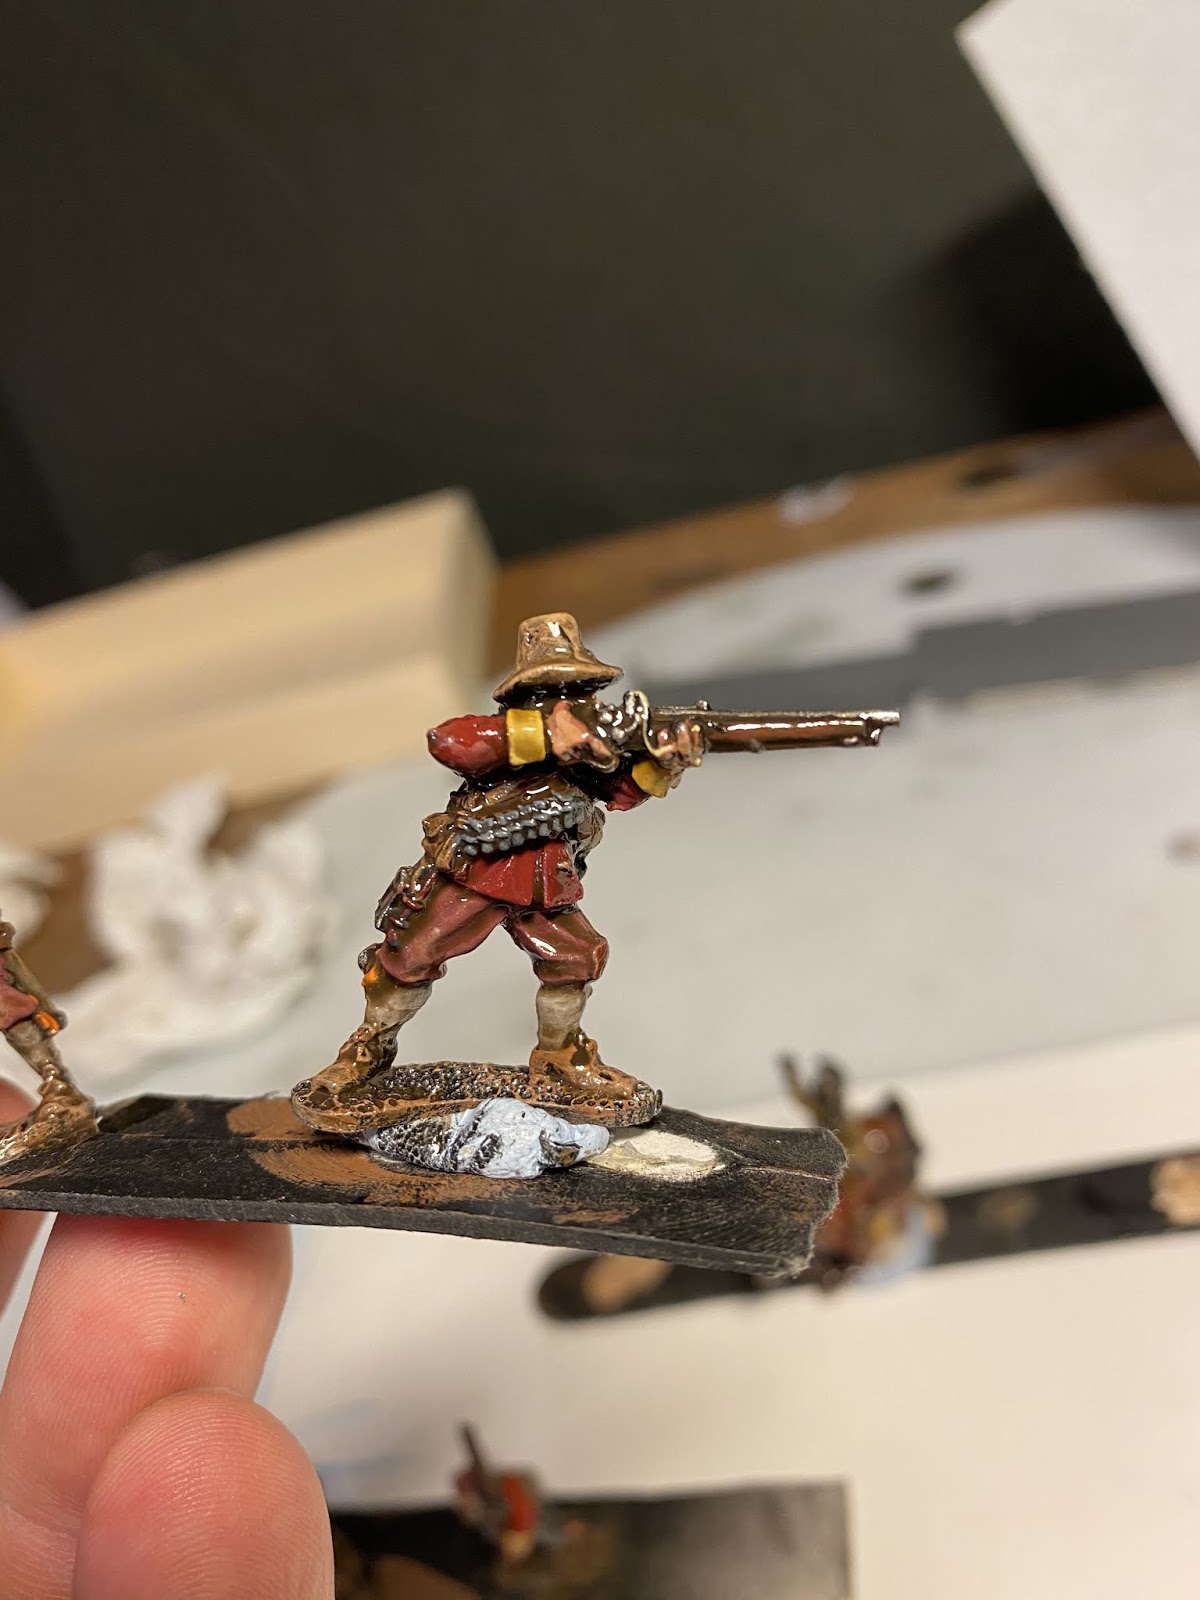


Once this is done I base them up. At the start I hand picked the figures and arranged them on the bases now it’s just a case of arranging them again in their places. My new method is to place four figures in the front rank, I think this looks more dynamic and chaotic than three.


2 comments:
Your figures are coming out great with this speedy method. Can't wait to see them based up and finished.
The Dip certainly helps get stuff done that is for sure.
Post a Comment